

When ready to conduct a survey, create a project, select a survey template to use and launch the project.
After launching the project you can customise the presentation (welcome and finish pages, branding, colours, language and more), deploy surveys and create reports.
Important: The survey template is copied into the project when you launch it. If you wish to change the survey in a project simply edit the survey template and re-launch the project.
Why do we do this? To avoid accidental changes to live survey projects, and to make it easy to re-use survey templates in different projects.
In this Article
Edit the Survey and Relaunch a Project
Modify the Live Survey in a Project
Add a Test Participant and Trial the Live Survey
Customise a Project (Including the Branding)
Archive, restore or delete a Project
The Projects Menu
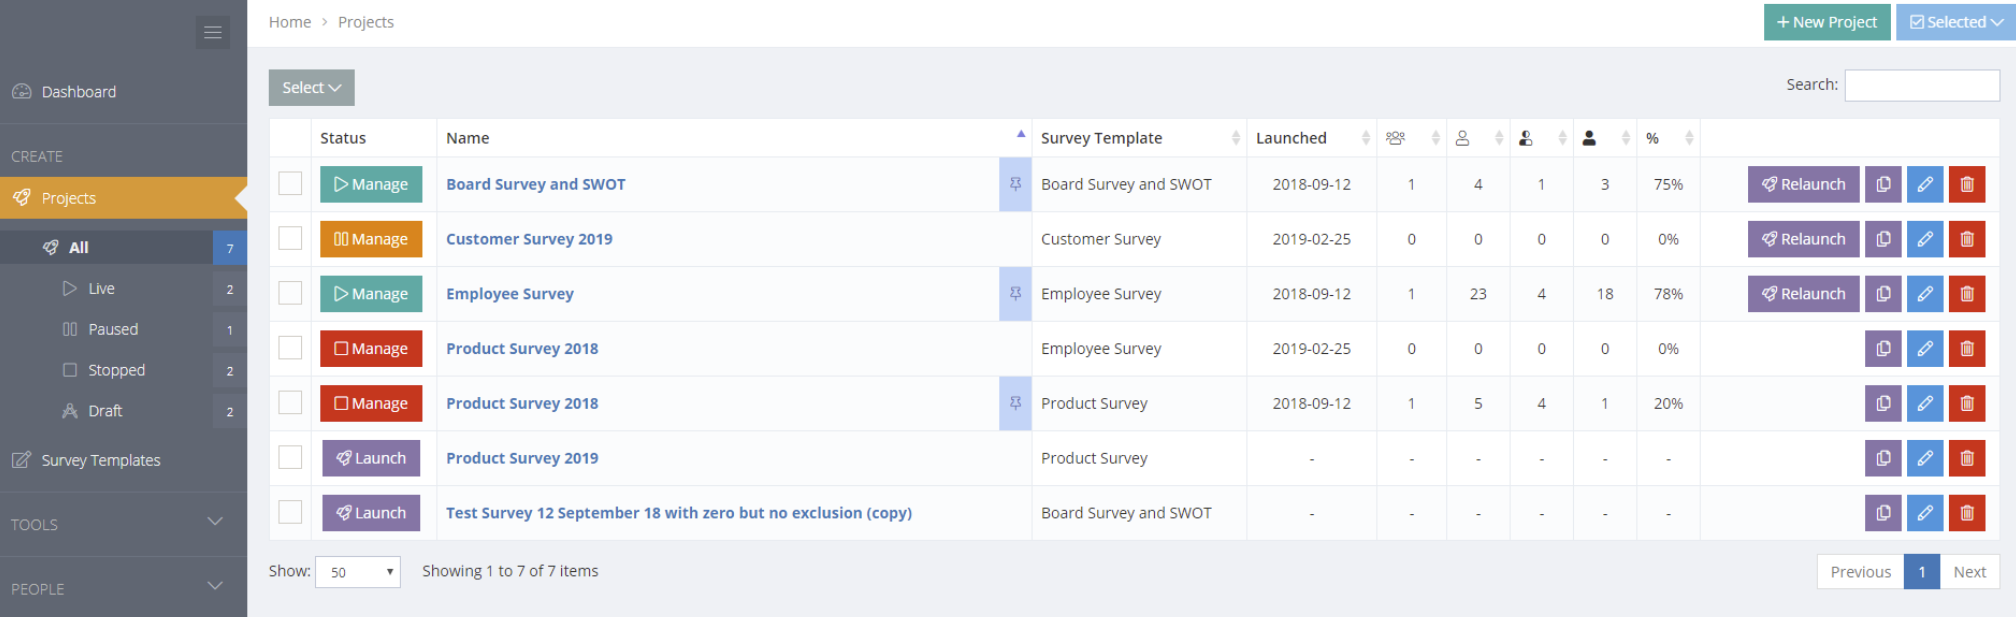
The projects menu shows a list of projects, including the project name, the survey used, the project status and various action buttons, like copy, edit and delete.
The menu lists projects grouped by project status (Live, Paused, Stopped and Draft). Add tags to projects and they will appear in folders. Tags will help you keep things organised.
Click the status button to access a project or Launch to start a project.
In the project you can customise settings, deploy surveys, track progress and create reports.
Create a Project
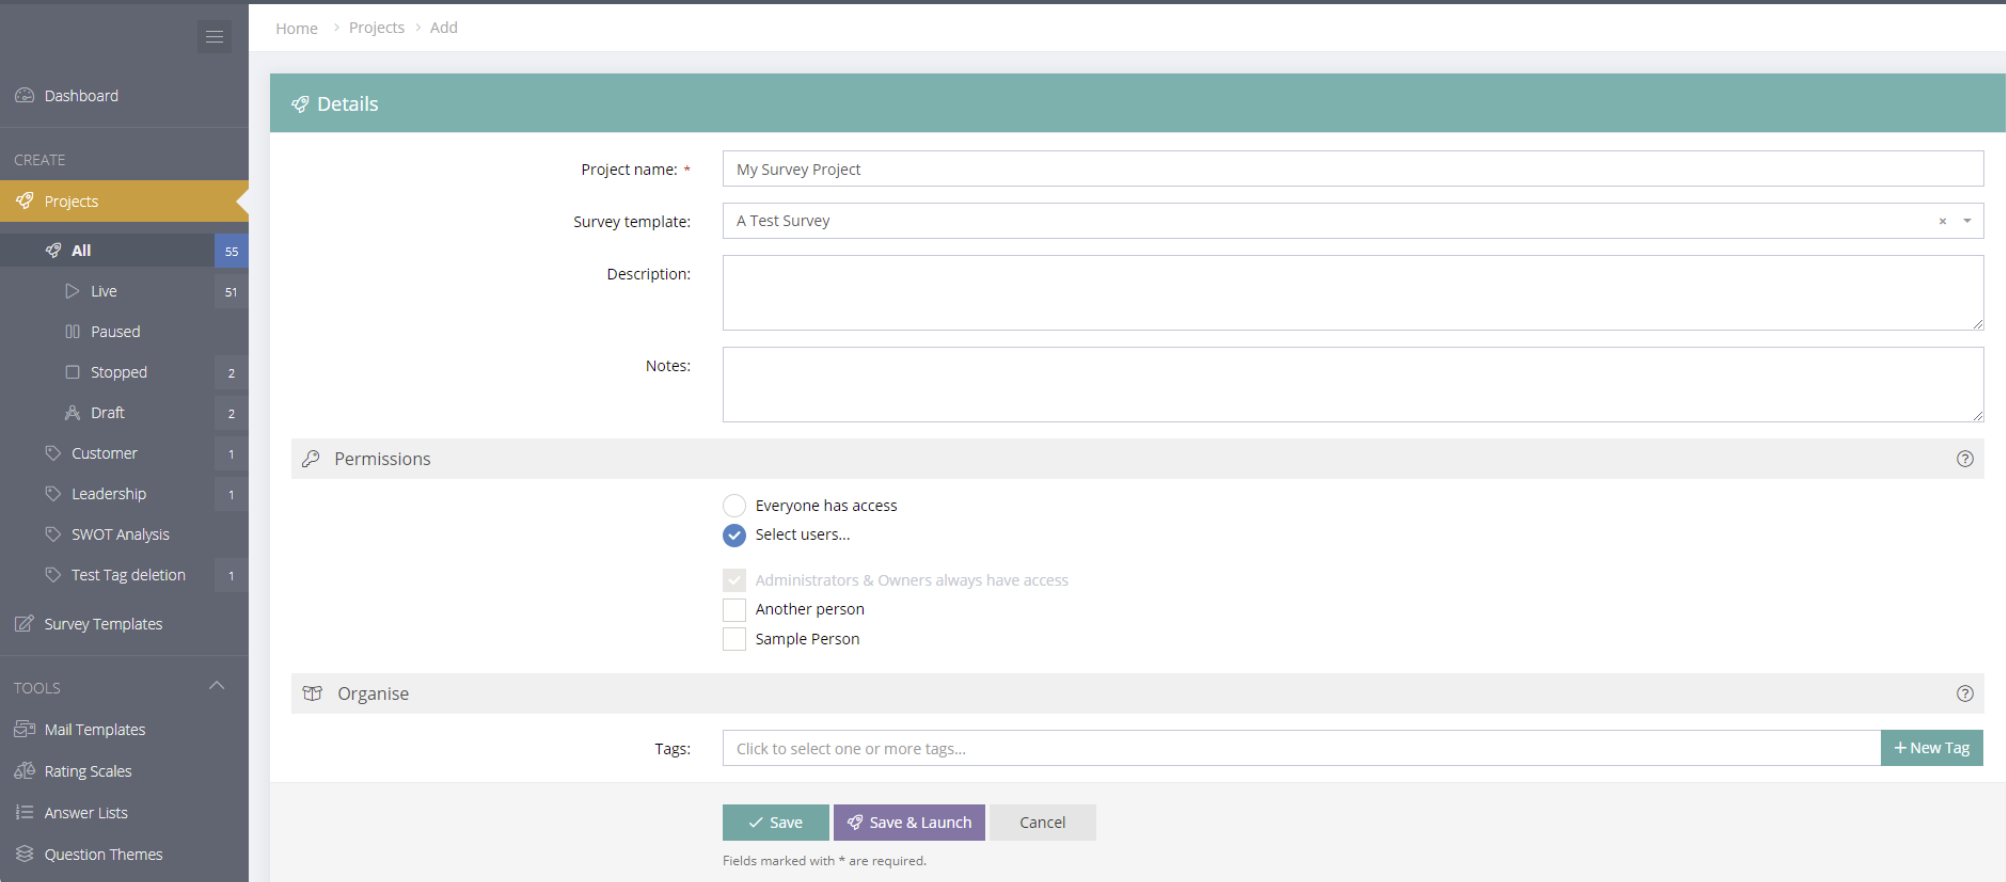
To create a project, select the + New Project button, enter the project details and select a survey template to use. The survey template may be edited at any stage up until project launch but any changes made after launch will not be synchronized in the project.
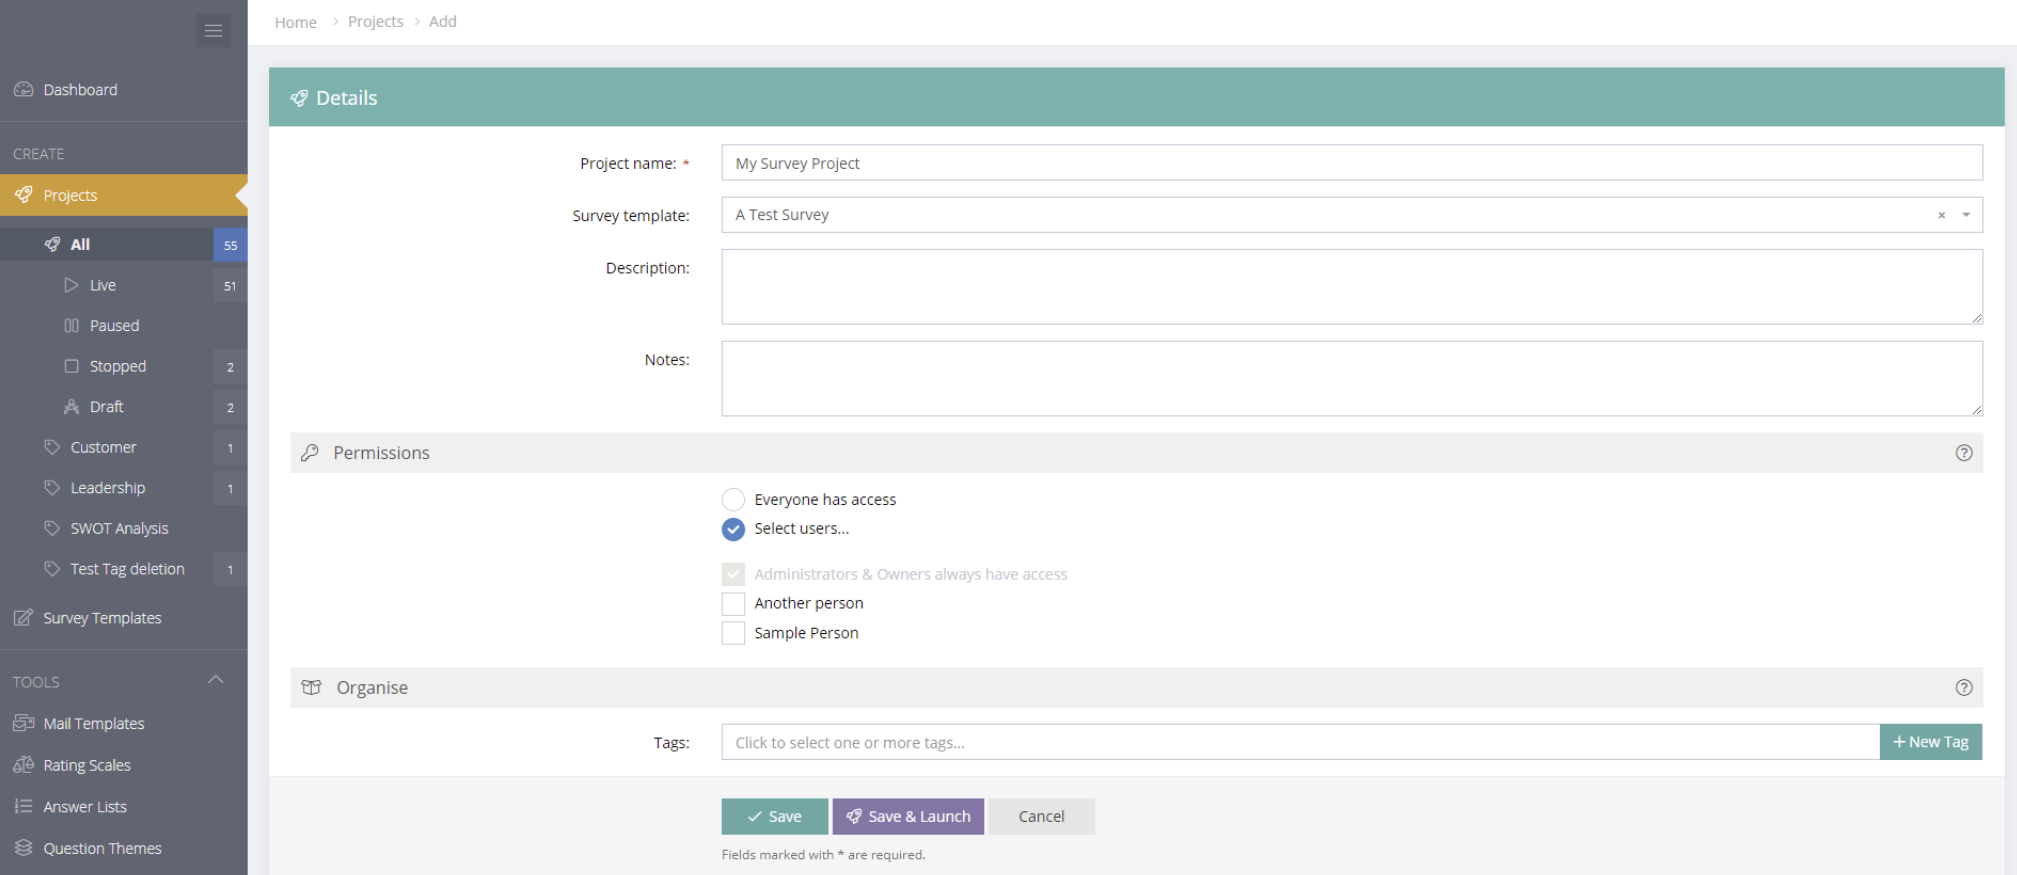
Project Permissions
Permissions can be set in the Edit Project menu and the Customise>General menu in Manage Project. If you run projects that contain sensitive data, or you just want to make sure regular users in your account don't accidentally make changes to a running survey, permissions can be set for each individual project.
Account owners & administrators have permanent permission to access all projects. By default, regular users also have access to projects. With this update, account Administrators can lock projects so only specific users can view/edit any content in the project. Regular users (i.e. not Administrators) without permission will be prevented from accessing a project or performing any actions with the project. This gives you full control over who can see the data.
Administrators now have an option to enable a global setting to completely hide projects from users when they do not have access. To access this feature, go to your Profile/Account & Settings/Users menu (https://control.sparkchart.com/settings/users/) and select the permissions tab.
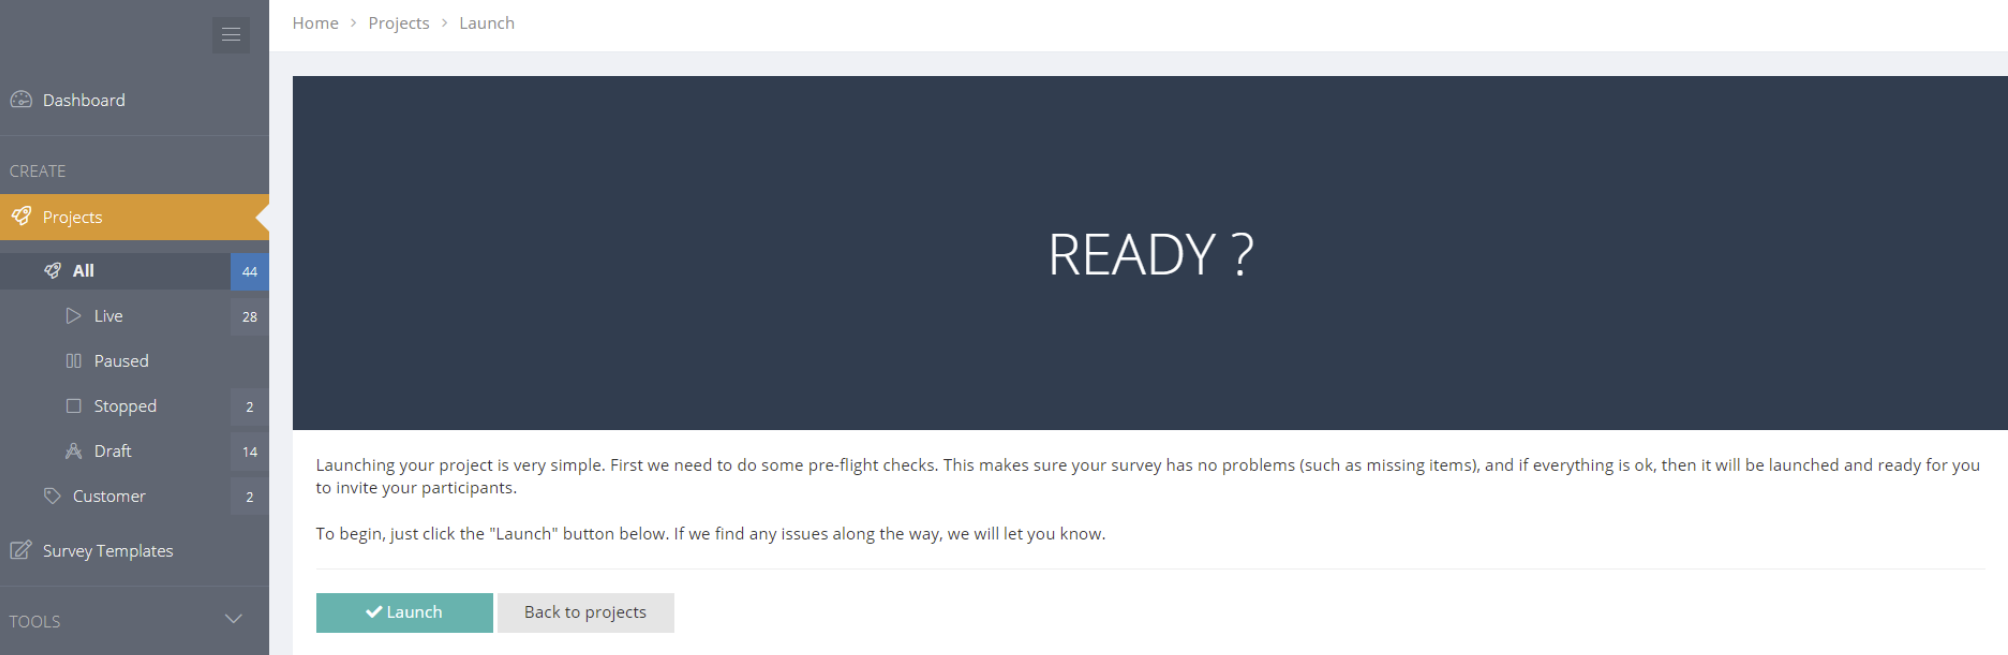
Launch a Project (Make it Live)
When ready, click the "Launch" button and follow the steps to make the project live. When the project is launched, the survey template will be copied into the project. Editing or deleting the Survey Template, Rating Scales, Answer Lists or Themes will not change the survey in a launched project.
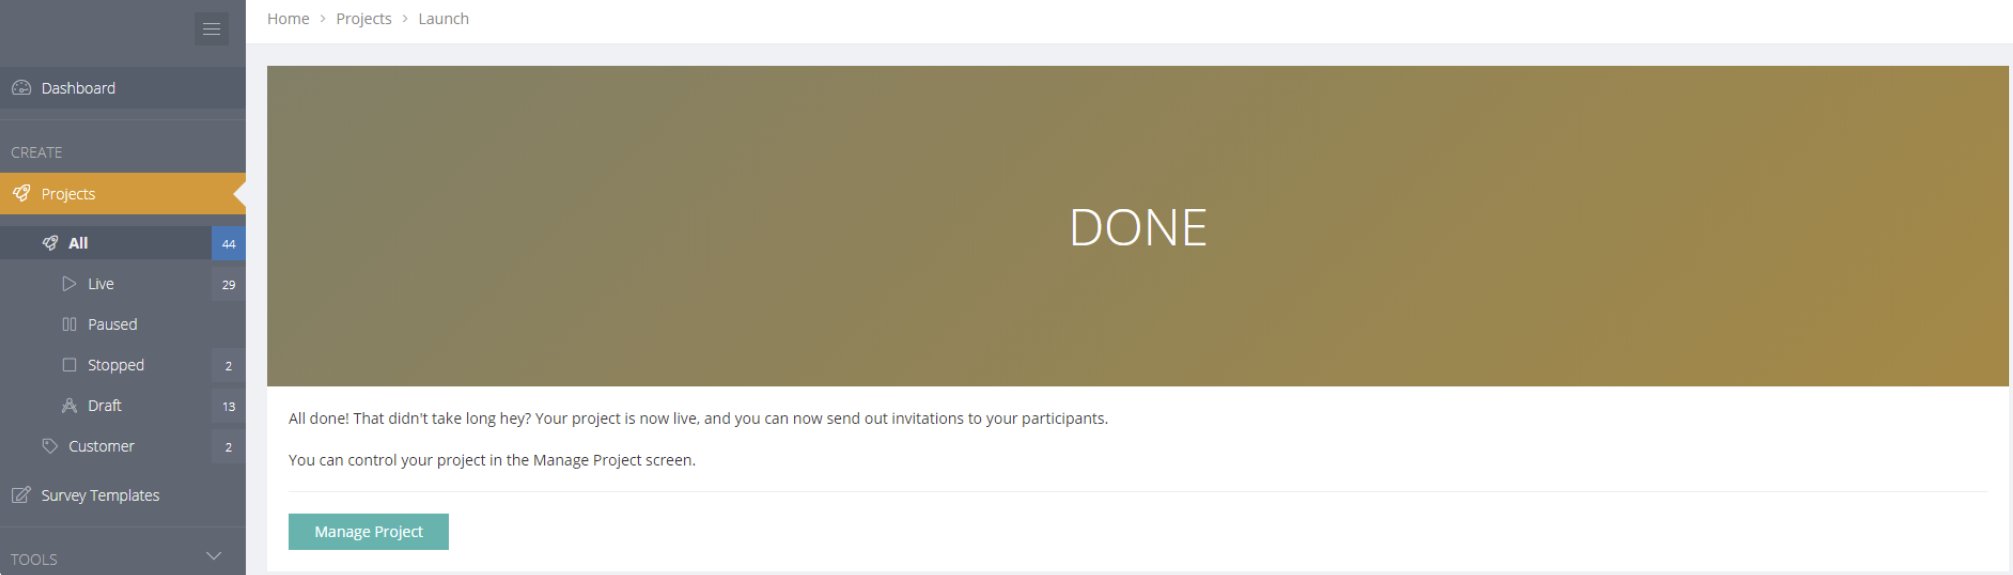
The project will quickly be prepared ready to add participants, launch surveys, and analyze and share results. The project menus are dedicated to the project (and different to the Dashboard).
The Launch Process
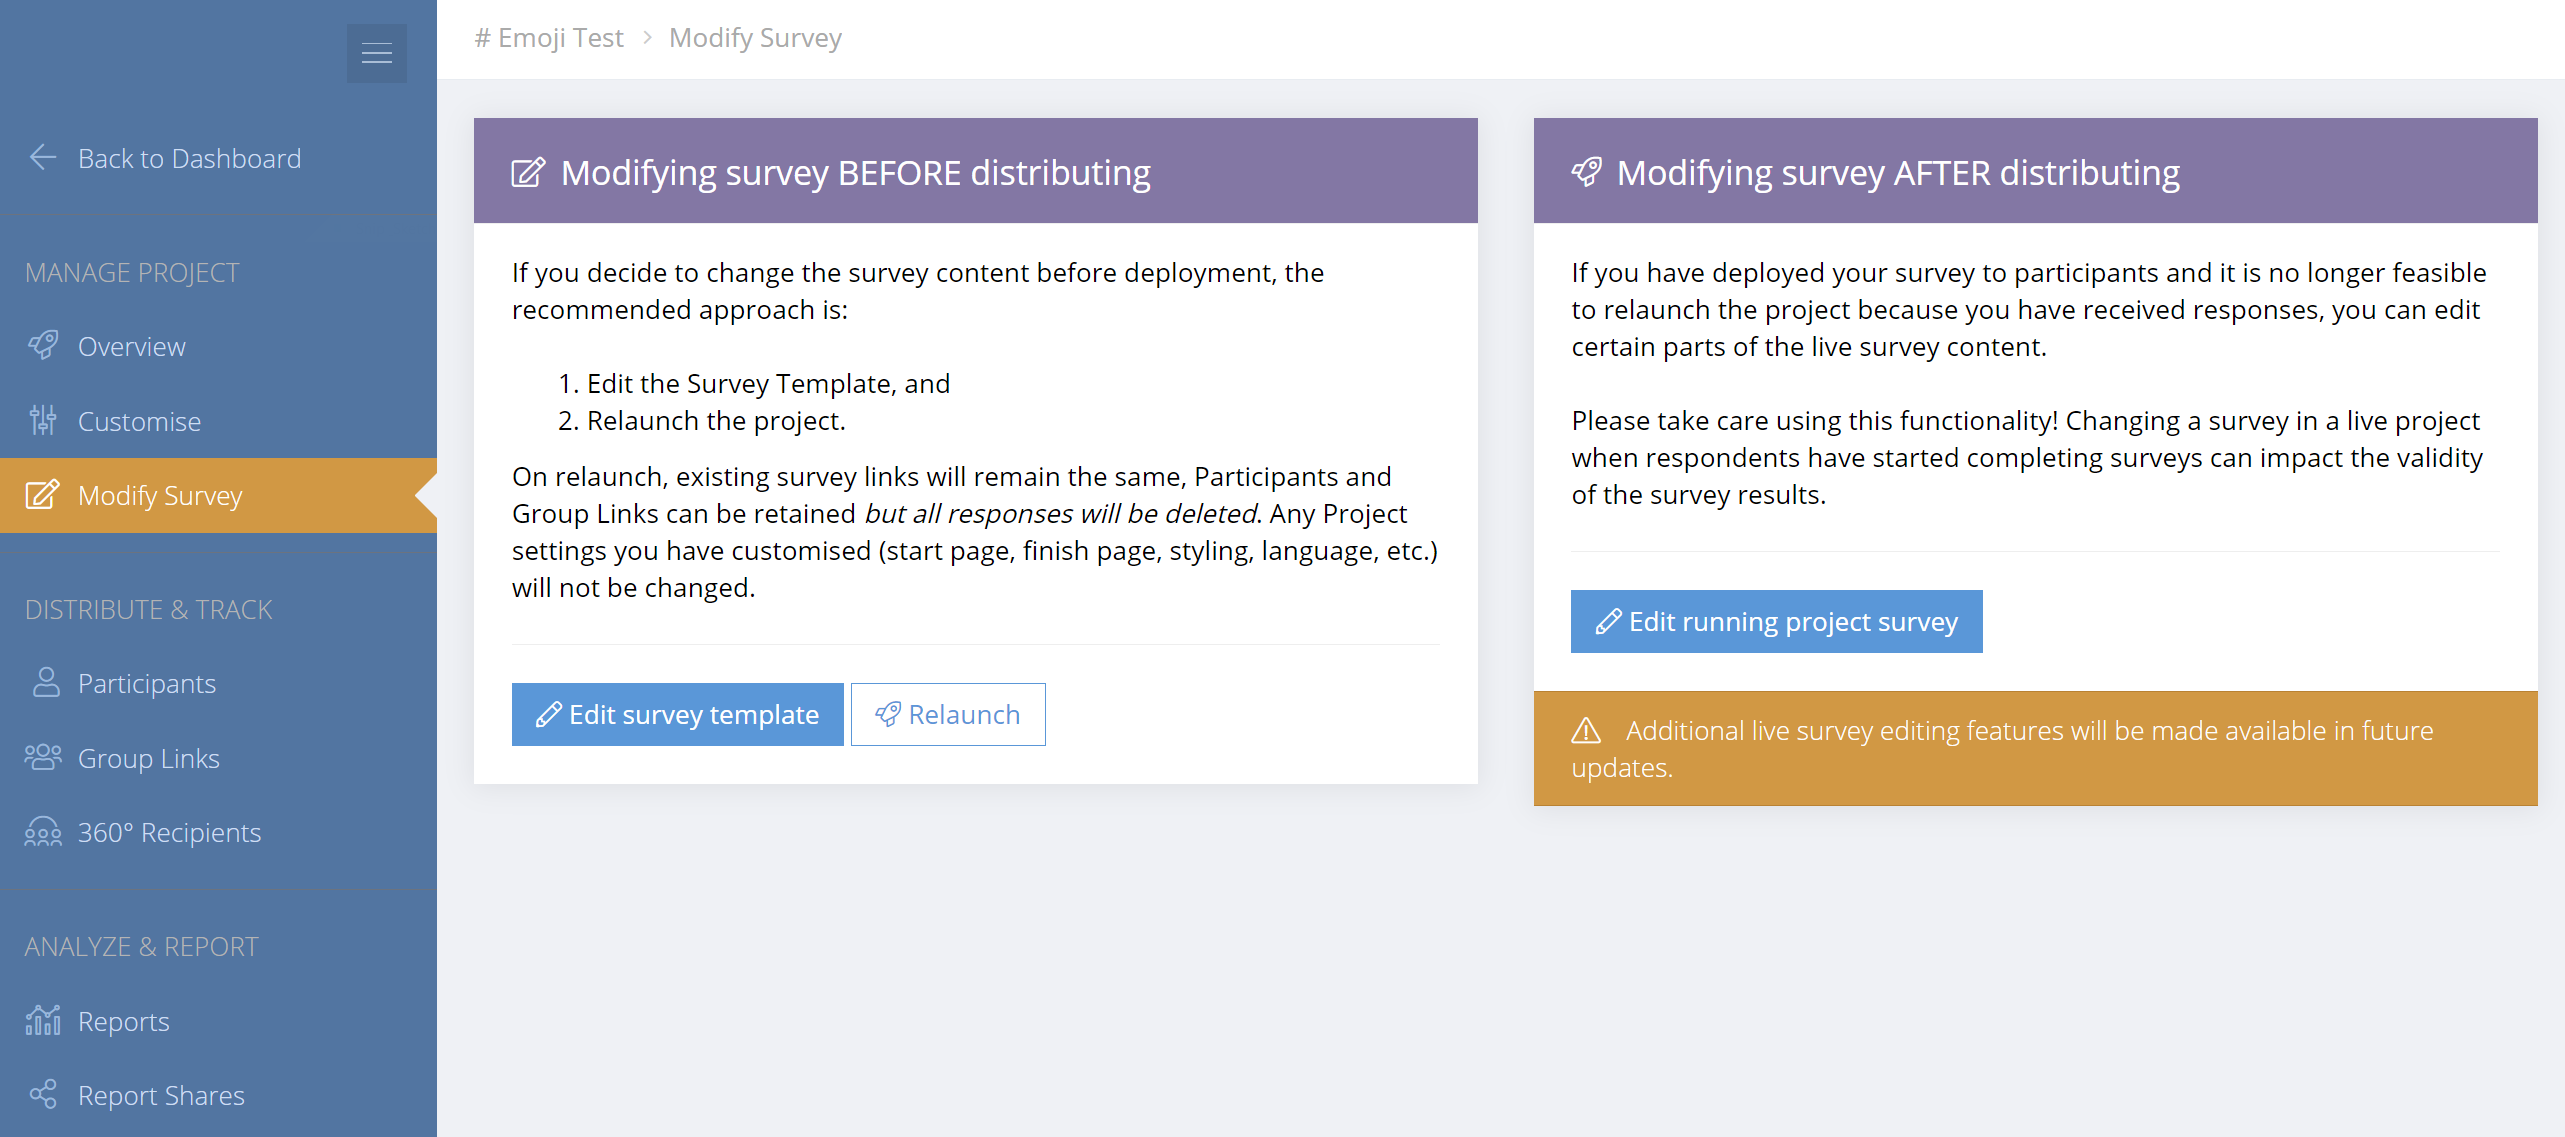
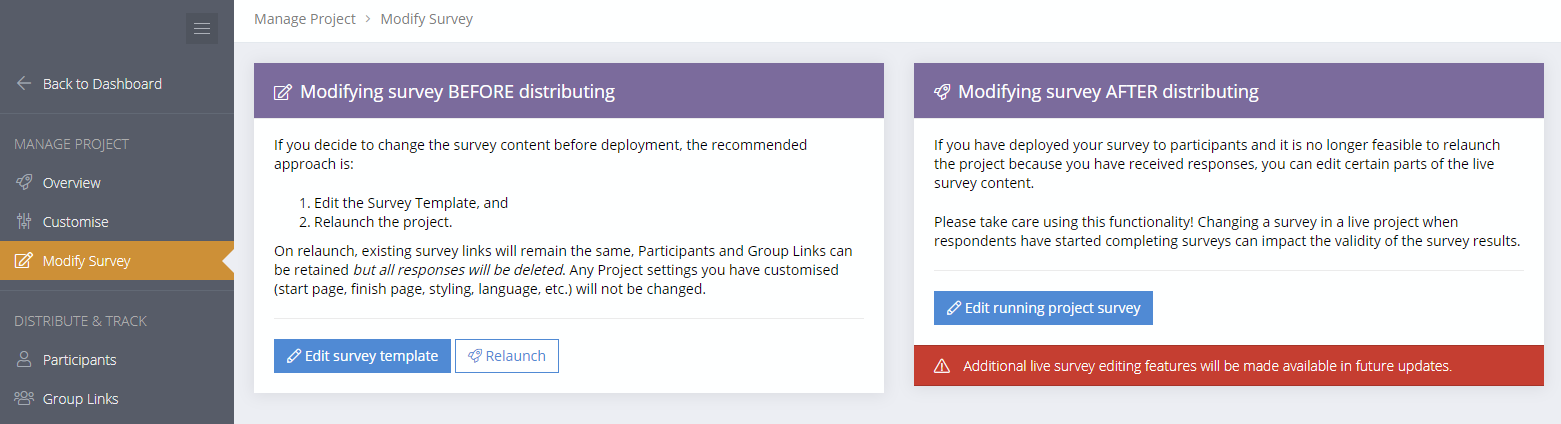
Edit the Survey and Relaunch Project
If you need to change the survey after launching a project, simply:
- Edit the survey template and then
- Relaunch the project
How to Relaunch
In Manage Project there is a Modify Survey menu with options to Edit the Survey Template and Relaunch the project. There is also an option to modify the live survey in need.
Otherwise, find the Survey Template in the Survey Templates menu. There is also a Relaunch button alongside the project in the Projects menu.

What happens when Relaunching?
The edited survey template will be copied into the project, replacing the live survey content.
All survey response data and reports will be deleted. There will be options to keep or remove Participants and Group Links. If kept, the Participant links and Group Links will still work for respondents.
The project customise settings will not be changed.

Individual Project Menus
The individual project menus are dedicated to the project (and different to the Dashboard). The menus are:
MANAGE PROJECT
- Overview
- Customise
- Modify Survey
DISTRIBUTE & TRACK
- Participants
- Group Links
ANALYZE & REPORT
- Reports
- Report Shares
Project Overview
The Project Overview displays the project status and progress, including key project statistics and a project history. Recent survey activity is shown, with scheduled tasks, participant details, completion date and a link to view individual responses.
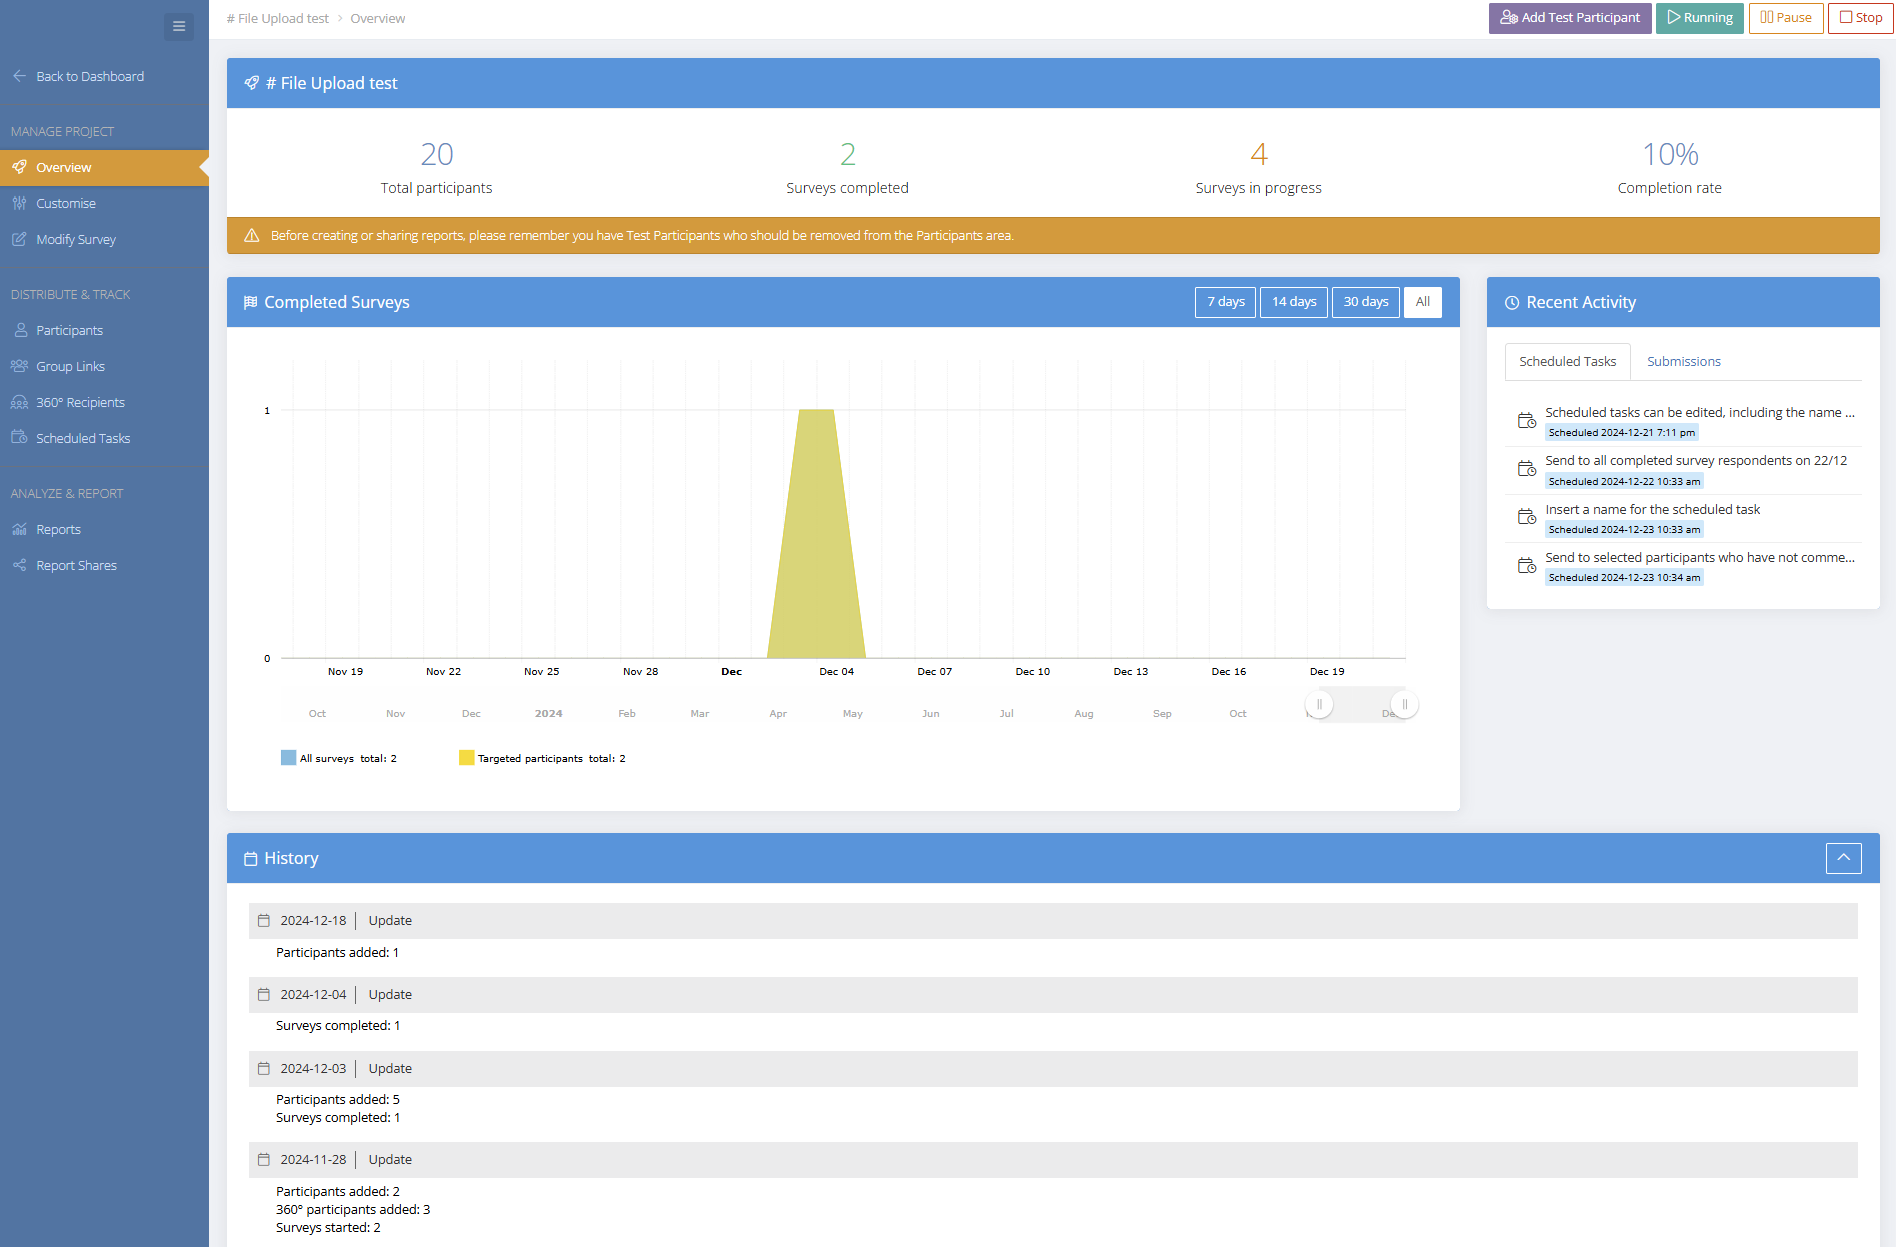
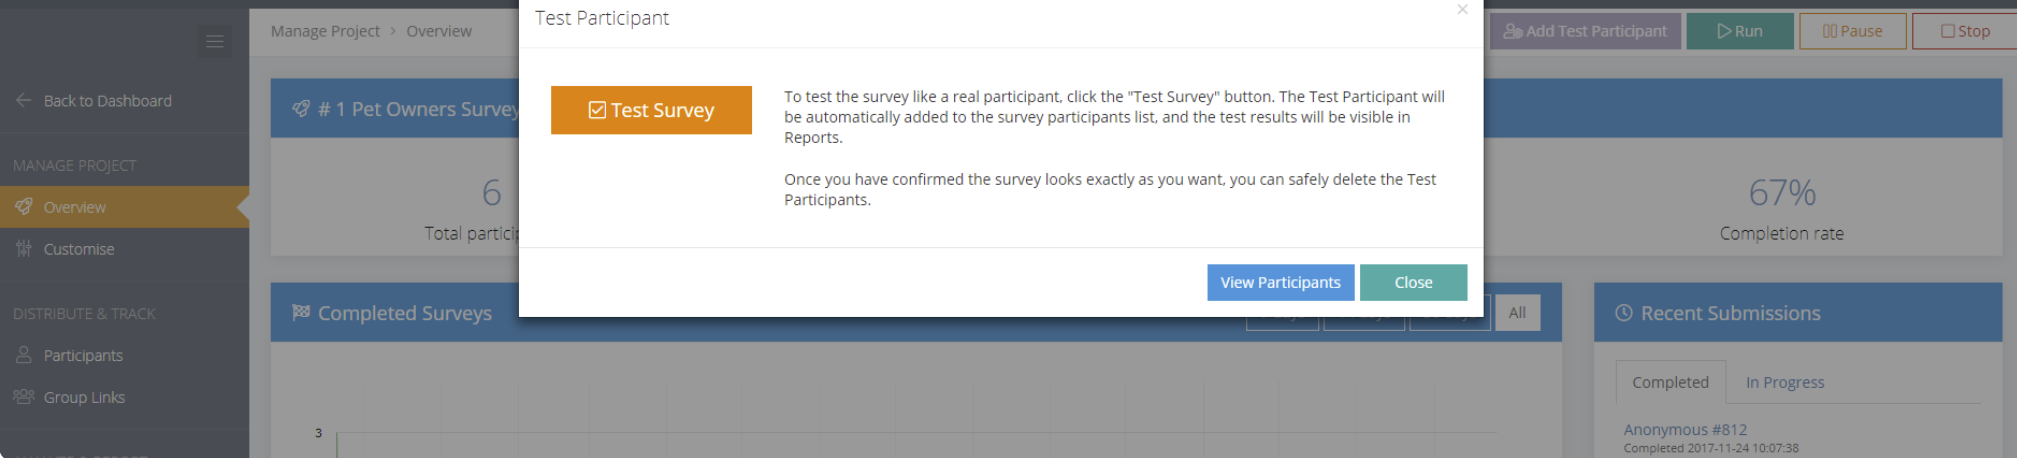
Test the Live Survey
Add a Test Participant and take the live survey with the customised presentation options (welcome and finish pages, branding, colours, language and more). Add as many test participants as you wish.
Learn about customising the project here.
Test Participants will appear in blue at the top of the Participants Menu. Test participants will also be grouped in a tag called "Testers".
A warning message will appear in the Project Overview to let you know there are test participants.
Modify the Live Survey (with Care)
Editing of live survey questions and logic can be performed, with some restrictions. Where possible, the recommended approach is to 1) Edit the Survey Template, and then 2) Relaunch the project. However, when surveys have been distributed, responses have been received and it is not feasible to relaunch the project you can now make edits. Additional live survey editing features will be made available in future updates.
Take care. Changing a survey in a live project when respondents have started completing surveys can impact the validity of the survey results. Piloting the live survey is highly recommended to ensure the survey content is correct before deployment.
Customise a Project (Including the Branding)
Customise the project settings, including what is displayed to the survey participants. These settings can be edited at any stage of a live project. Edits will instantly change the visible project details for survey participants.
The menus are:
- General
- Layout
- Start Options
- Page Options
- Finish Options
- Styling
- Advanced
- Language
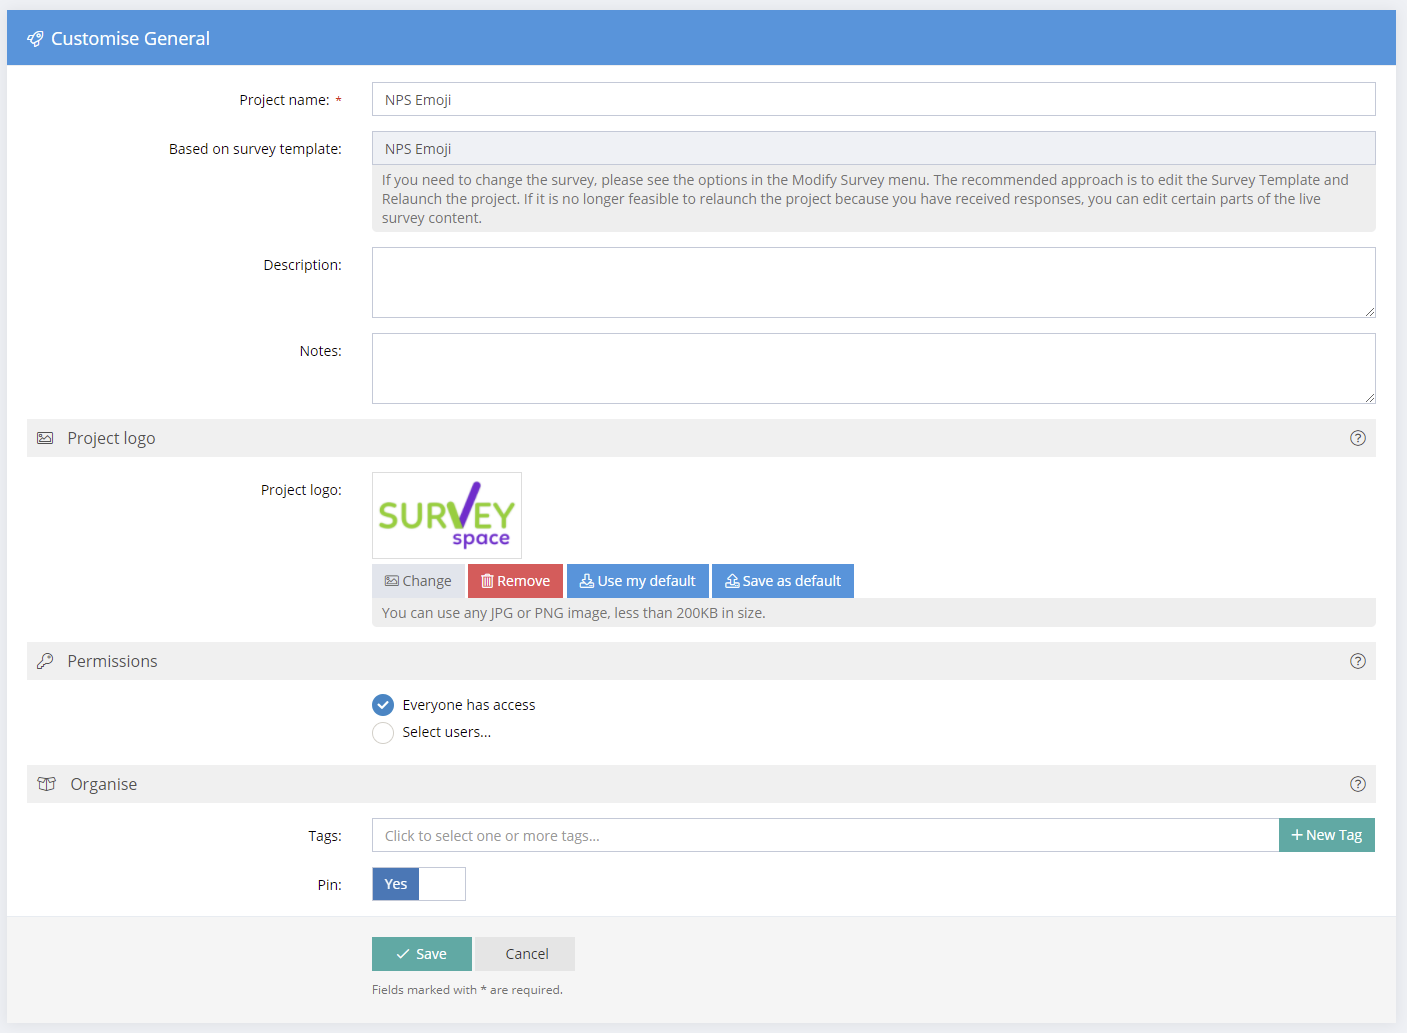
General
The general menu contains the basic project details along with options to select a project logo, set the access permissions and to Tag or Pin the project.
Permissions can be set here or in the Edit Project menu. If you run projects that contain sensitive data, or you just want to make sure regular users in your account don't accidentally make changes to a running survey, permissions can be set for each individual project.
Account owners & administrators have permanent permission to access all projects. By default, regular users also have access to projects. With this update, account Administrators can lock projects so only specific users can view/edit any content in the project. This gives you full control over who can see the data. Regular users (i.e. not Administrators) without permission will be prevented from accessing a project or performing any actions with the project.
By default the project logo is displayed on the "Welcome" page of the survey as well as on the start page of any Report Shares you create. There are flexible options for hiding/showing the project logo in Start and Finish pages. The Rich Text editor allows images, videos and more to be added directly into the Start and Finish pages. So, for more control over the display, you can hide the logo and insert it directly into the Start Page and Finish Page text. If you don't upload your own image, the Spark Chart logo will be displayed instead.

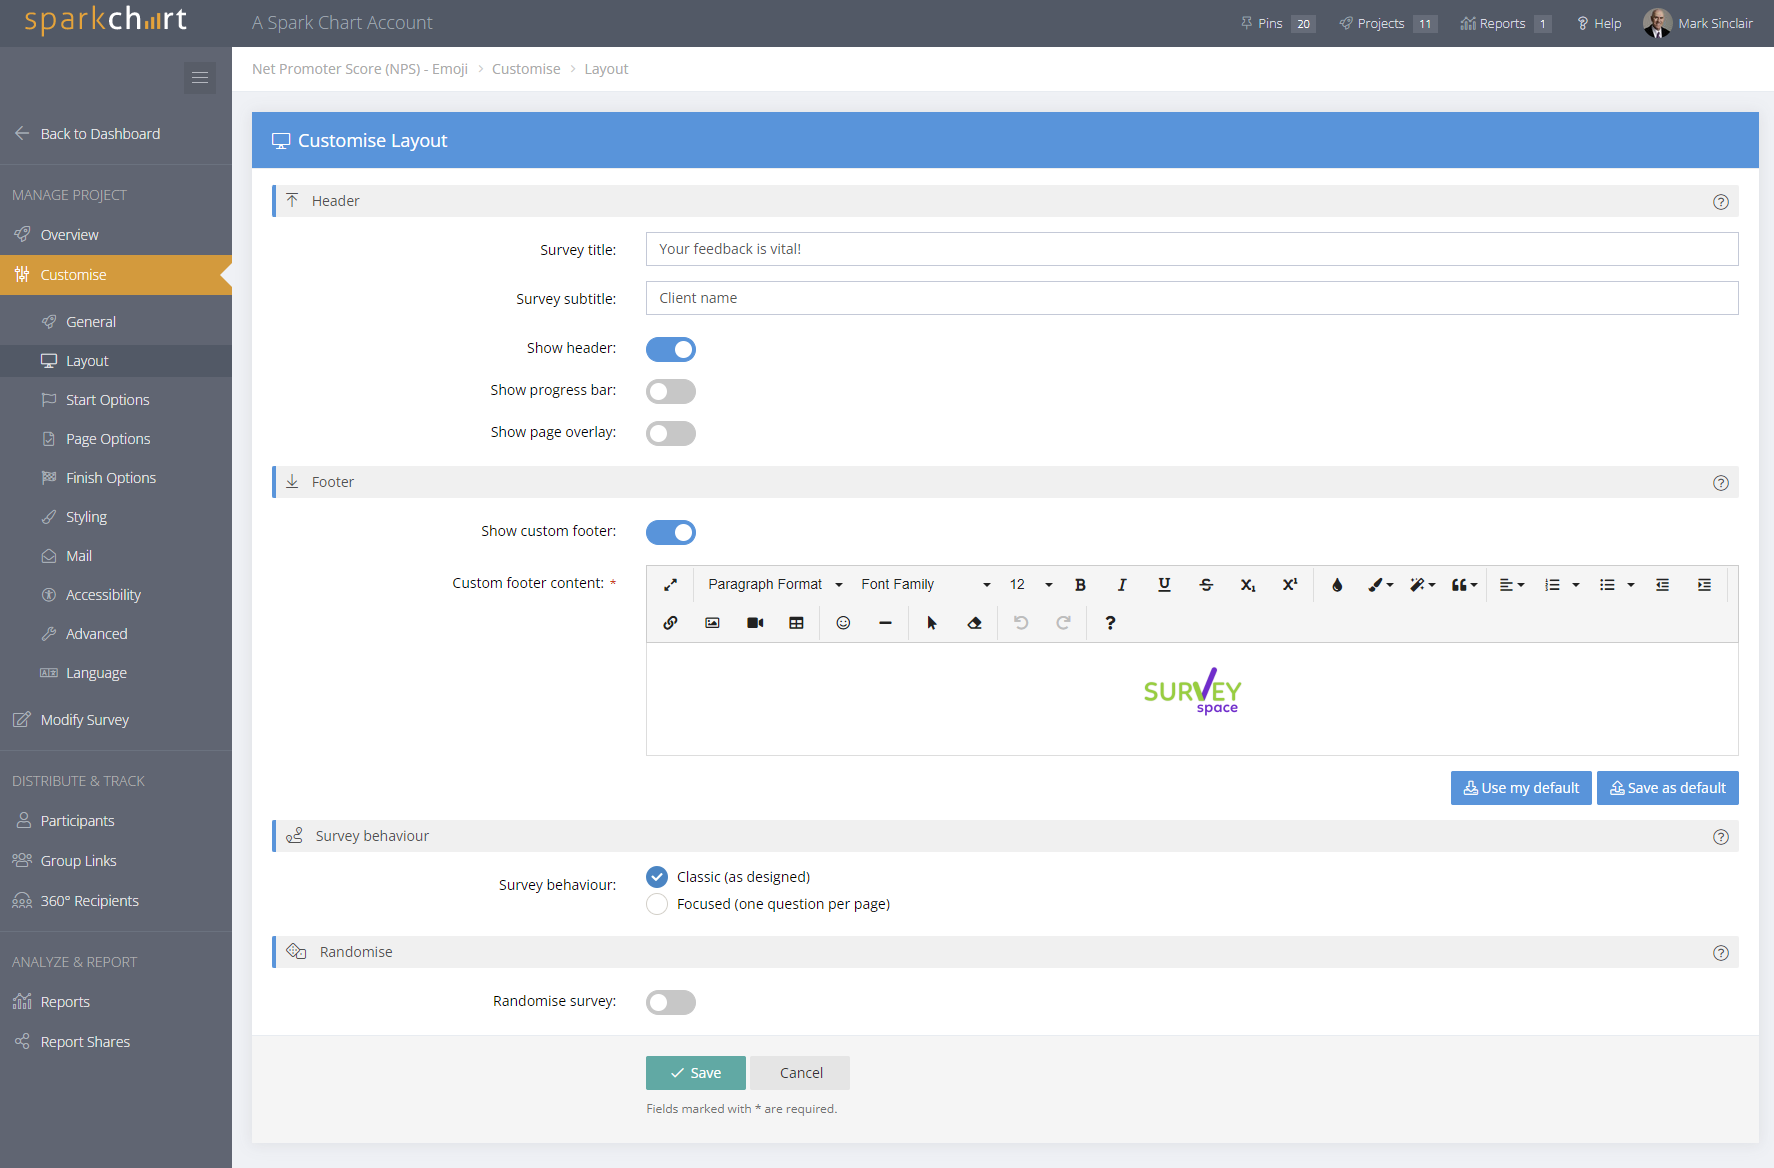
Layout
The Layout Options tab can be used to edit the survey title, sub title and footer that is shown to survey respondents, and show or hide page elements (e.g. Page Header, Question Title, Progress Bar and Progress Messages). Randomise options are also available.
The Survey Title is shown in the header of the survey. The Sub-title is displayed below the title, in smaller font. They are optional. If left empty, the project name will be shown to participants as the title of the survey with no sub-title. For example, you could set the Title to be the name of your survey, and the Sub-title to be the company name. The project header can be set to Off and it will not show to respondents in the survey. For greater flexibility, the header can remain enabled for the project and turned off for specific shareable Links.
Either Classic (as designed) and Focused (one question per page) survey behaviour modes can be selected. In Classic mode the survey is presented as designed in the survey template. Focused mode ignores the page layout in the survey template and presents the survey with one question at a time on each page.
Randomise options can be edited at any time. When randomise options are enabled, the survey content (pages, questions and text items) is randomised based on the options selected. Page breaks are respected so that survey content will always appear with content from the same page. Randomising recognises the individual participant's personal survey ID, so participants will always get the same order if they come back to the survey later. To ensure a consistent experience for participants, anyone who has a survey in progress when you change this option will still see the previous settings. New participants will be presented with the updated version. These survey level options will not randomise the response options for individual multiple choice and answer list questions. There is an option to randomise the response options for those question types when creating or editing the question.
When Page Overlay is enabled a menu will show at the top right of each page in the survey. When selected by the survey respondent, the page overlay content will be displayed over the top of the survey page. On exit, the respondent is returned to the survey page they were viewing.
Rich text formatting is available for the footer and page overlay, including images, videos and links.
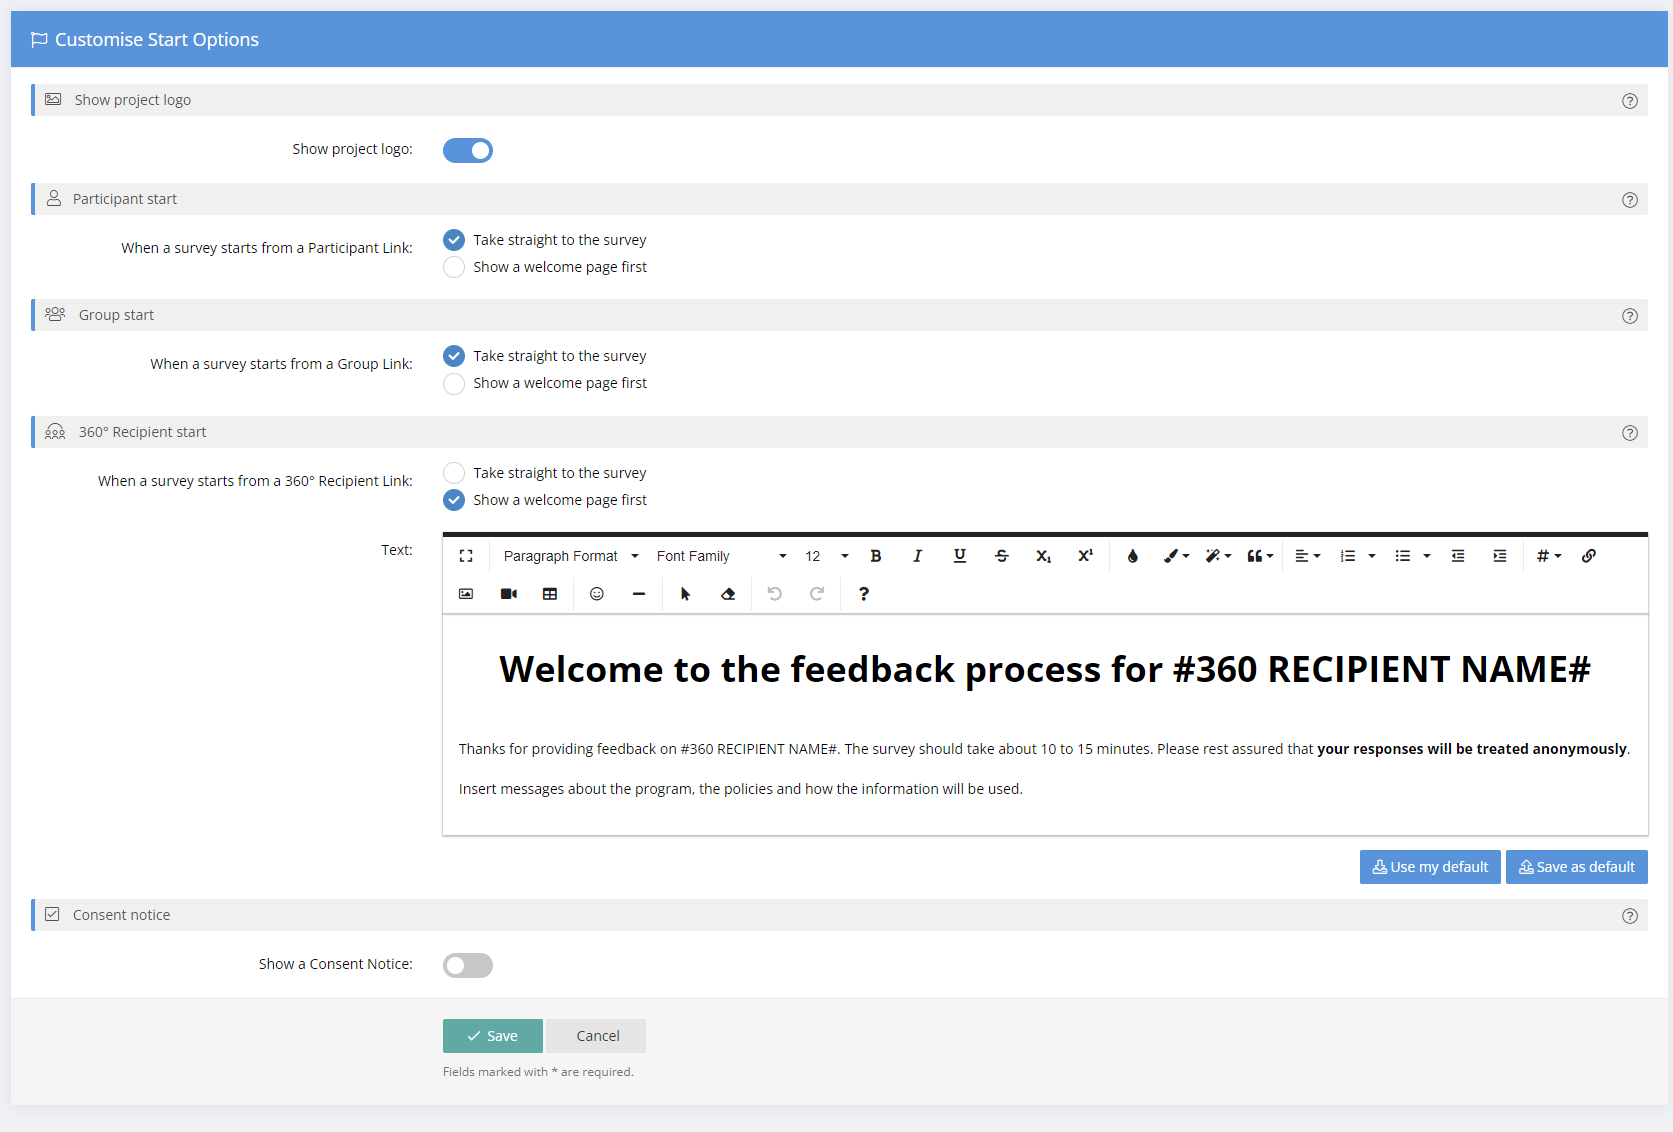
Start Options
The Start options can be set for surveys commenced from a personal Participant Survey Link, a shareable Group Link and a shareable 360 Recipient Link.
The Participant Start Page and welcome message appears when a participant commences the survey from their personal survey link or invitation. If you do not enter any welcome text, a participant will be shown the project logo, and a Start button.
The Group Link Start Page and welcome message appears when a Group Link is used to commence the survey. A Group Link allows multiple surveys to be completed from the one link. When an individual starts a survey from a Group Link they become a Participant and are assigned a personal link.
The 360 Recipient Link Link Start Page and welcome message appears when a 360 Recipient Link is used to commence the survey. The allows multiple surveys to be completed from the one link. When an individual starts a survey from a Group Link they become a Participant and are assigned a personal link.
If you would like to skip the Start Page and direct the participant straight to the first page of a survey, you can turn the Start Page off.
There is also an option to show a customised Consent Notice and require acceptance before a participant can commence a survey.
By default, a survey that includes some welcome page content will also show the project logo set in the Customise/General menu. You can disable this behaviour and not show the logo.
The Start Page may be edited at any stage of the project, including when it is live.
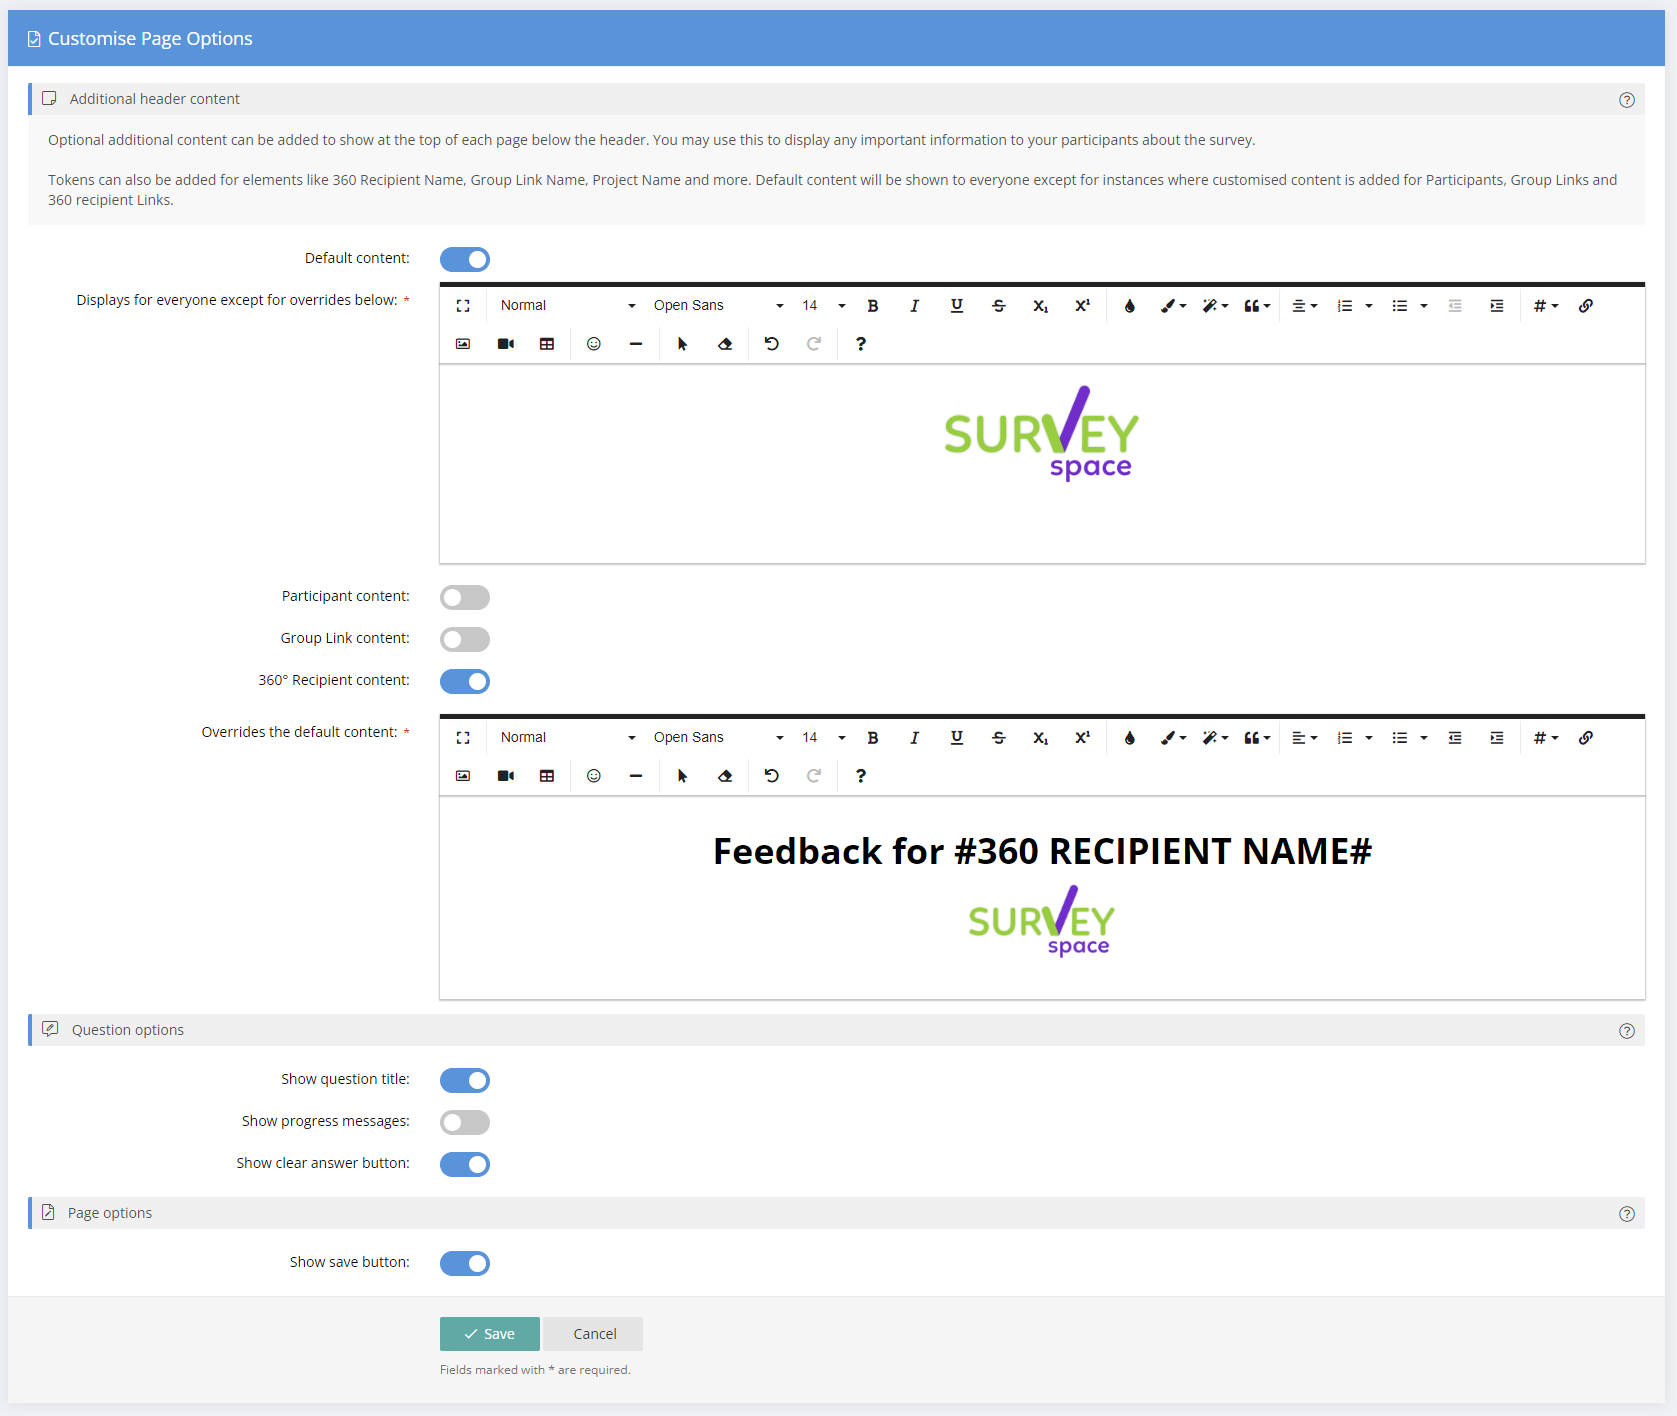
Page Options
Optional additional header content can be added to show at the top of each page below the header. You may use this to display any important information to your participants about the survey.
Tokens can also be added to this additional header content for elements like 360 Recipient Name, Group Link Name, Project Name and more. Default content will be shown to everyone except for instances where customised content is added for Participants, Group Links and 360 recipient Links.
You can control the visibility of other options for pages and individual survey questions, including:
- Show question title - Display the label and number (e.g. "Question #") above the question text.
- Show progress messages - Display a friendly progress message next to each question, e.g. "only 29 questions to go".
- Show clear answer button - Allows a participant to clear their answer from a question.
- Show save button - Allows a participant to save their survey responses on a page at any time. Responses are saved automatically when participants move to another page.
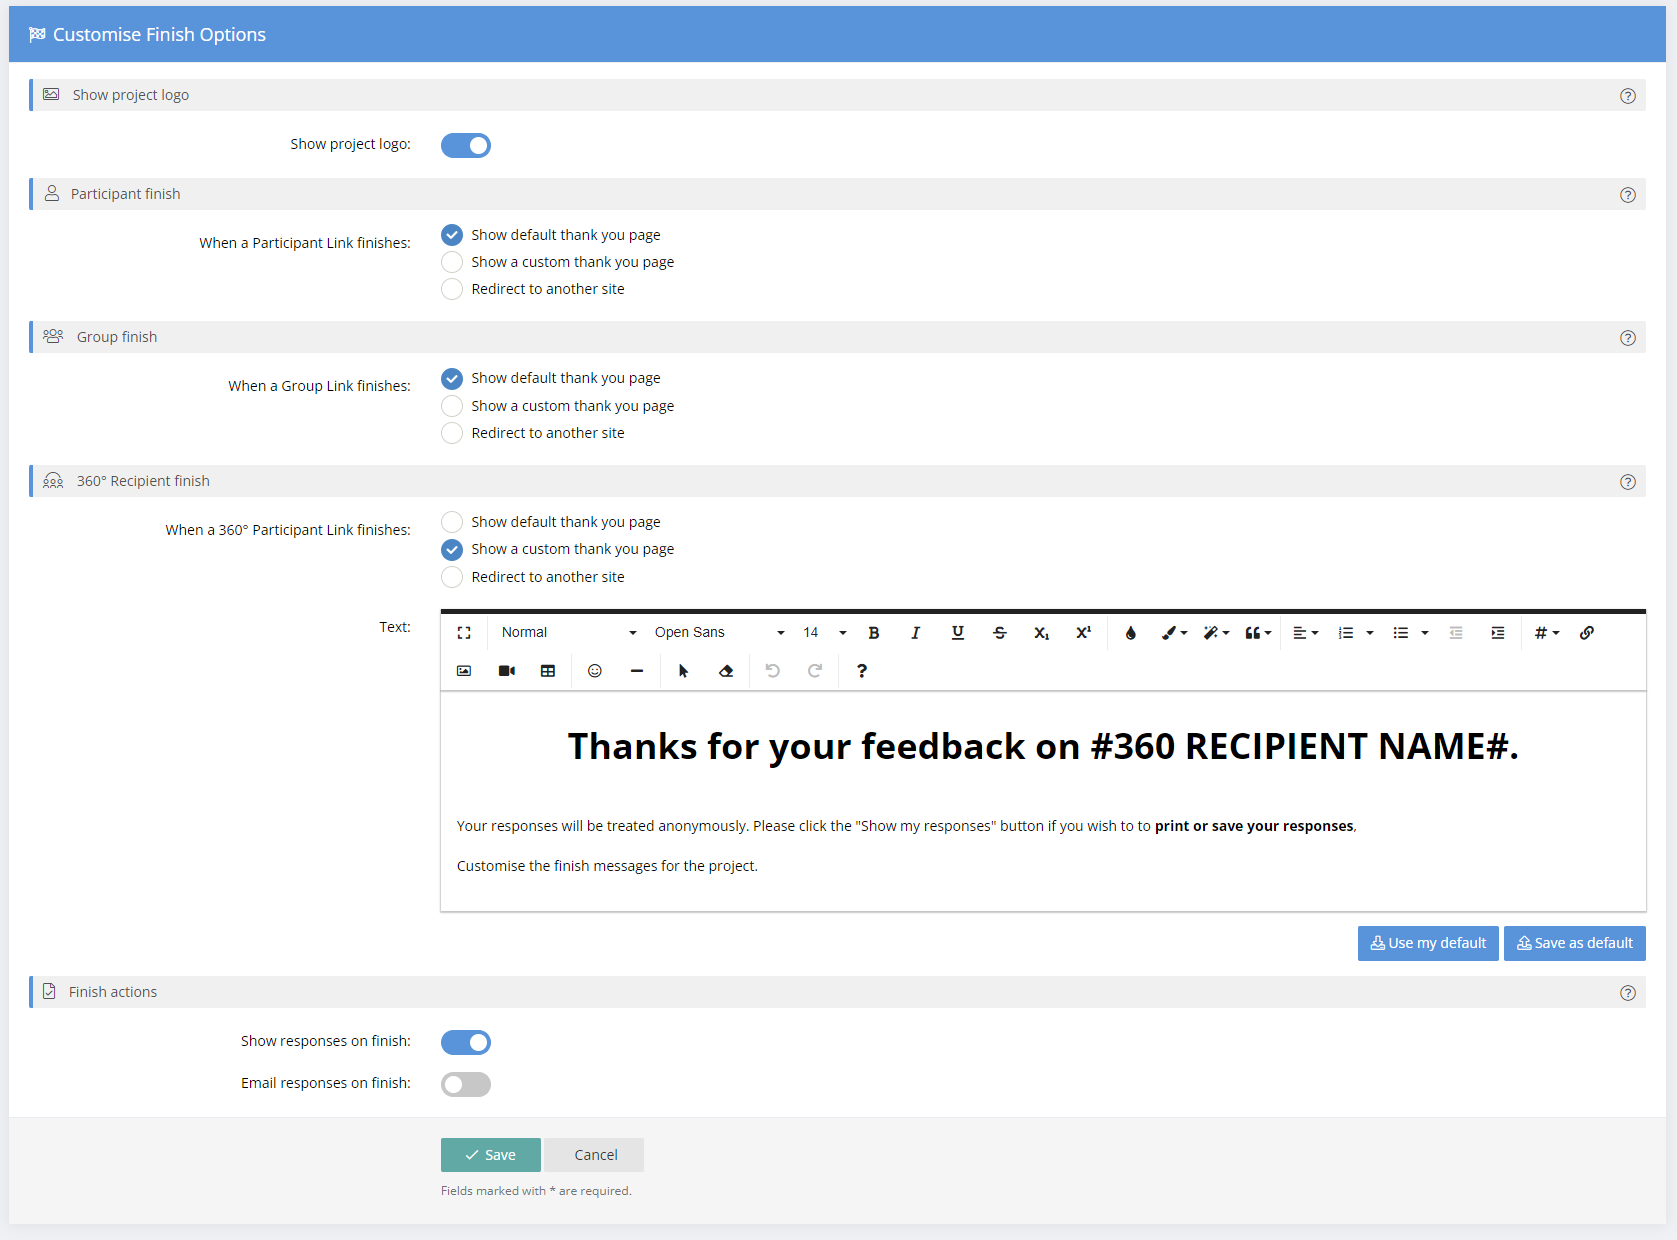
Finish Options
As with the Start Options, the Finish Options can be set for surveys commenced from a personal Participant Survey Link, a shareable Group Link and a shareable 360 Recipient Link. There are options to redirect a participant to a specified url on completion of the survey.
By default, a survey that includes some finish page content will also show the project logo set in the Customise/General menu. You can disable this behaviour and not show the logo.
There is also an option to allow a participant to view their survey responses when they complete the survey. Just enable "Show responses on finish".
When a participant has completed their survey, an option exists to allow them to see what their responses were. Sometimes it may be required that they receive a copy of their responses via email. To facilitate this, we have added a new option to the Project > Customise > Layout screen - "Email responses on finish". If this is set, on completion of a survey, an email will be sent to the participant containing their responses. You may also customise the content of this email by creating a Mail Template in your control panel that contains the #SURVEY RESPONSES# token, and assign in the Default Send Results mail option in Project > Customise > Mail.
Please note that automatic response mailing is only possible if your Participants have an email address specified in the system, or you've collected this by using a Group Link/360 Recipient registration form.
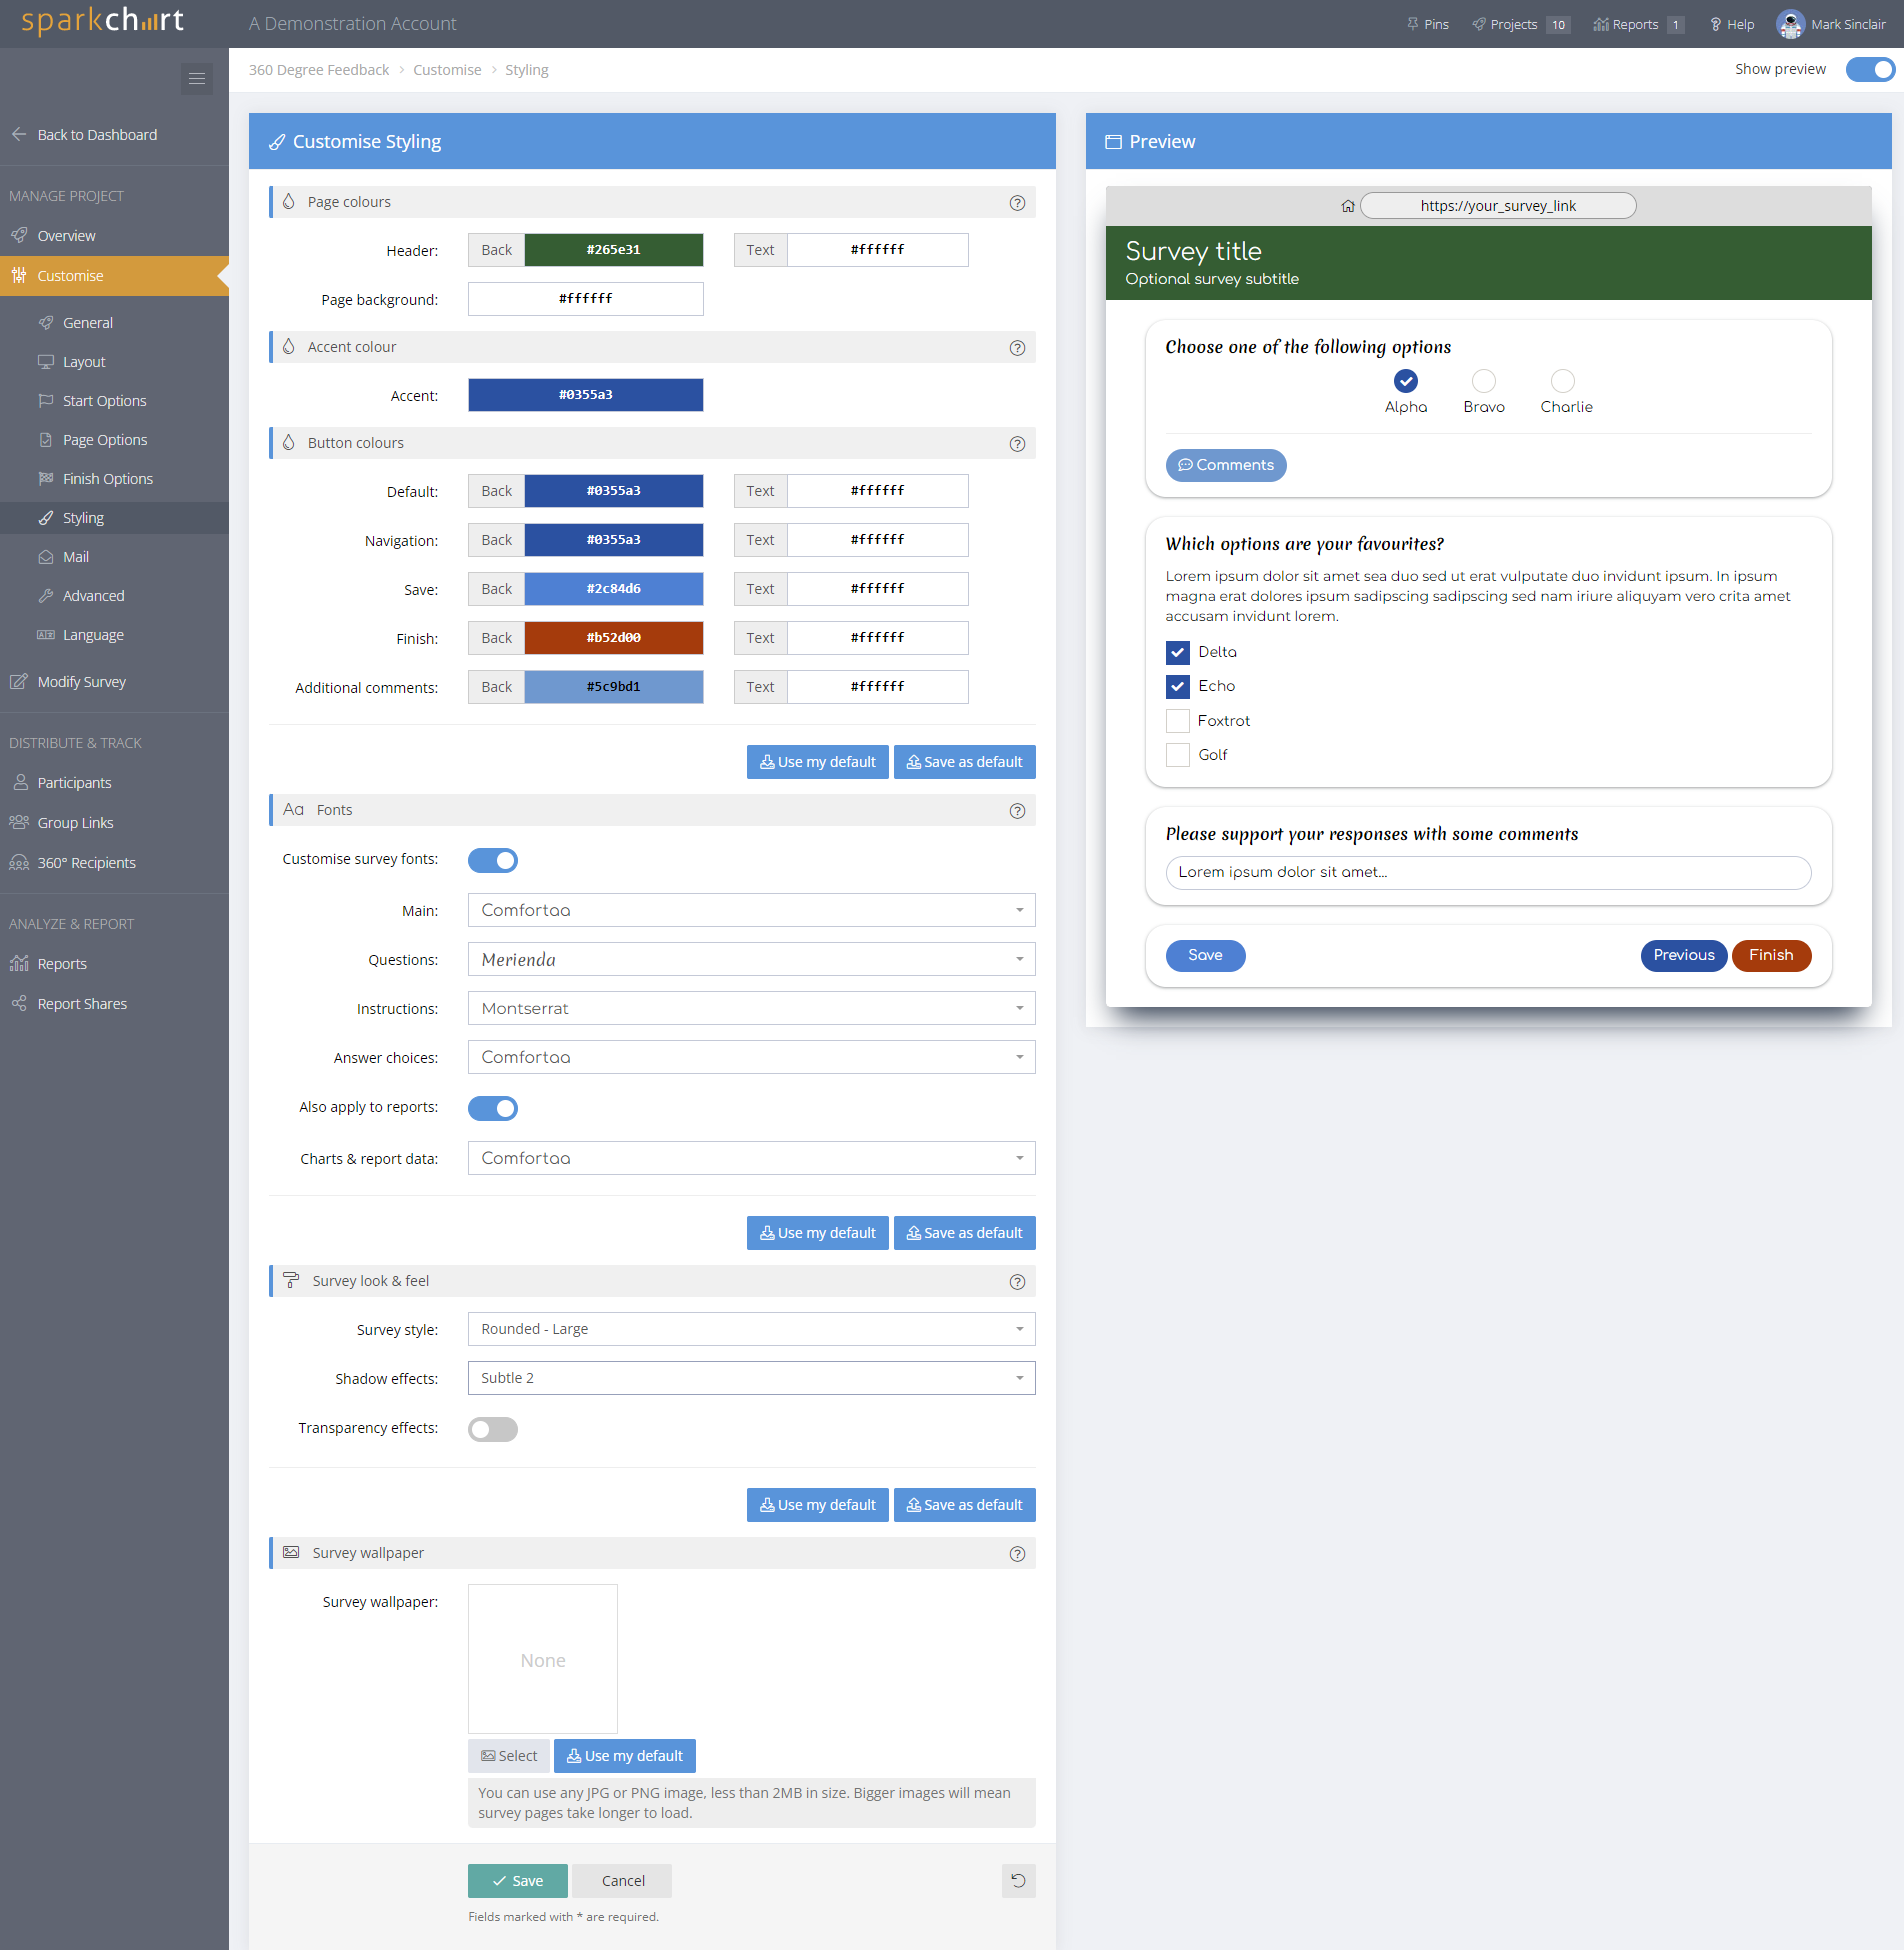
Styling
Here you can stye the look and presentation of your survey and reports. As you do so, a Survey Styling Preview will automatically display your selections. However, the live survey will not change until you save the changes at the bottom of this screen.
You can change the colours for the page header, footer, background and the various buttons that appear in the survey. Click the colour fields to select from the range of preset colours or enter any custom colour code for the background or the text.
You can also use different fonts to style elements of your survey. This is in addition to the rich text and font support was available in the start & finish screens as well as in survey question instructions. You can set a global font for the whole survey, or you may set fonts for different elements of the survey - the titles & buttons, questions, instructions and response choices. There is a range of fonts to choose from.
In addition to this, you can also choose to apply those same fonts to your reports.
There are options to customise the look and feel of survey elements, like panels, buttons and borders.The panels & buttons in the survey can be set to square (the default), slightly rounded corners or fully rounded corners. You can also choose the shadow style behind each panel if you wish to customise the look further. Enabling the "Transparency effects" button will allow the page background colour or survey wallpaper image to be partially visible behind the survey content. This is most effective with a survey wallpaper applied.
Using the survey wallpaper feature you can use an image as a backdrop on your survey pages instead of a single colour. Any JPG or PNG image up to 2MB in size can be used. Please optimise images for the web to ensure that survey load speed is minimised.
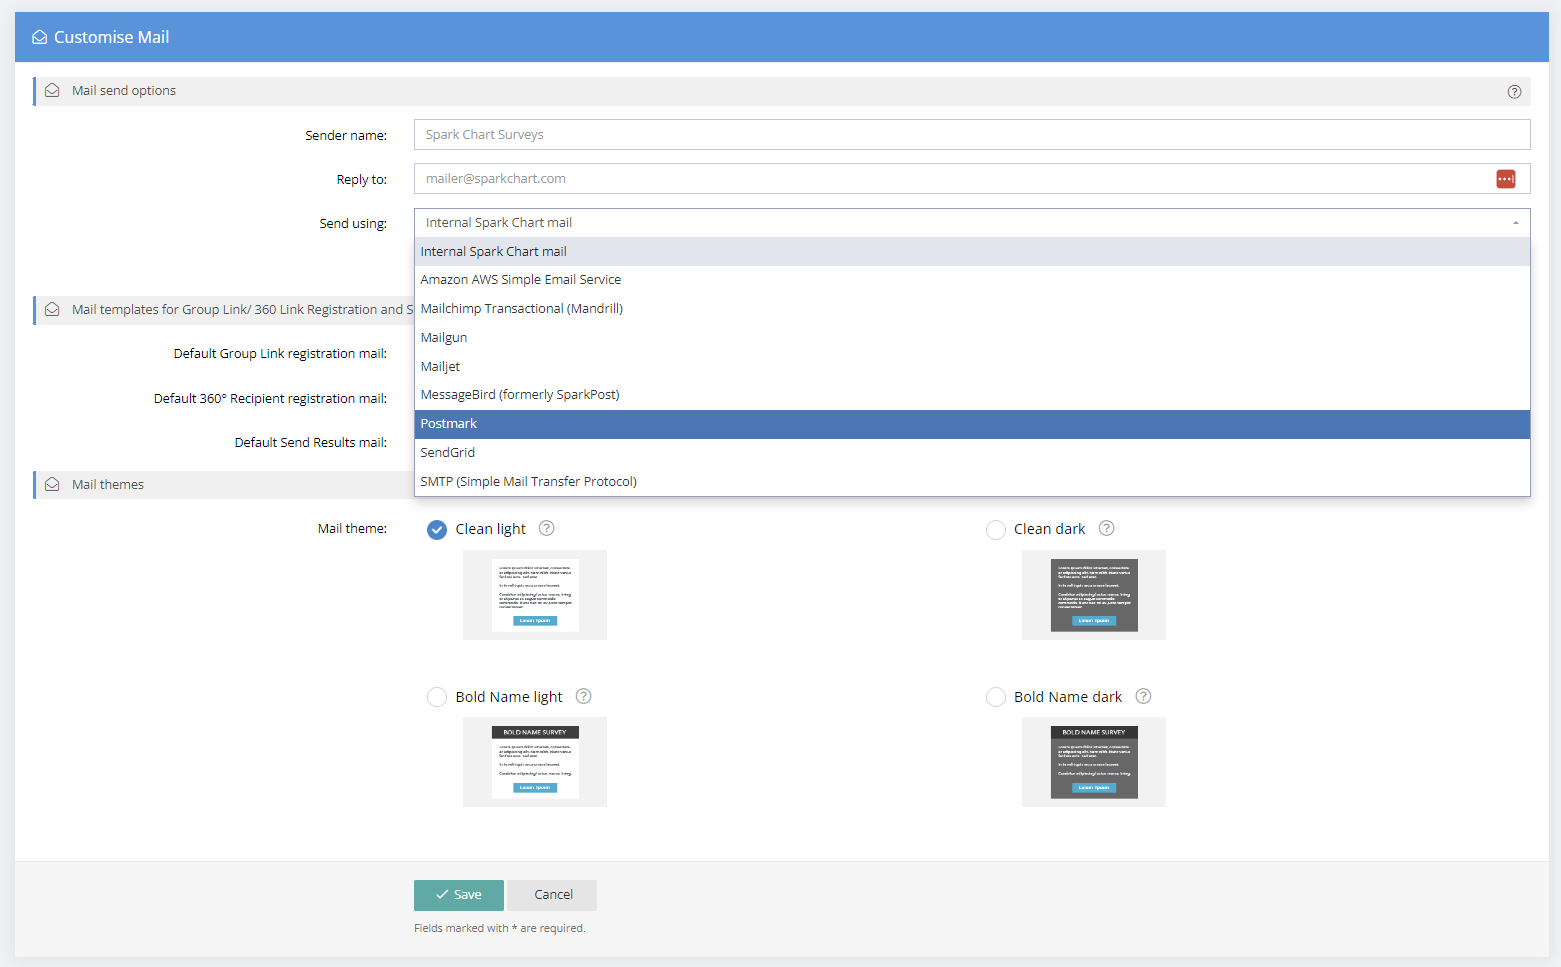
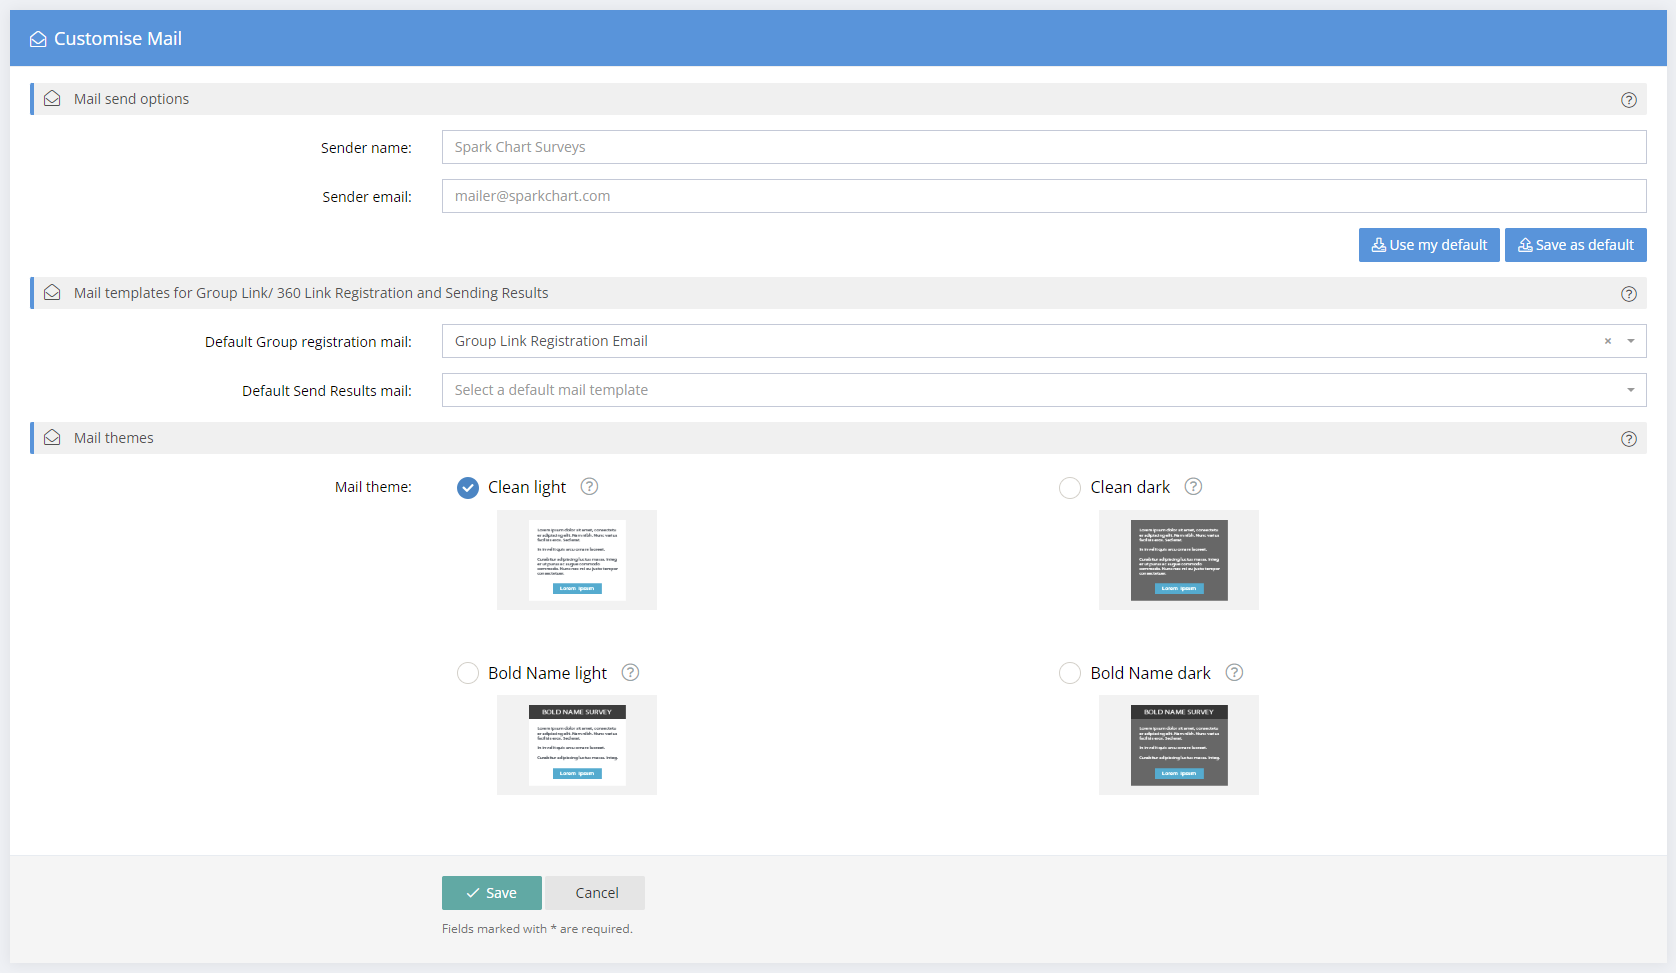
Spark Chart has built in mail support to let you quickly & easily send survey invitations and reminders.By default, mail sent from Spark Chart will originate from a default "noreply" address, with the sender name set to Spark Chart Surveys. You can change this by entering your own details below.
You can also send mail from your own favourite mail provider!
While this gives you more capacity for sending large amounts of mail from the system, the biggest benefit is you can now send mail from your own domains (based on the configuration in your mail provider).
The following mail providers are currently supported.
- Amazon AWS Simple Email Service
- MailChimp Transactional (Mandrill)
- Mailgun
- Mailjet
- MessageBird (formerly SparkPost)
- Postmark
- SendGrid
In addition, you can also use your own SMTP (Simple Mail Transfer Protocol) mail server to send the mail. Many of the providers above support sending mail via SMTP, but you can also configure your own.
To enable any of the above mail integrations, click your user avatar in the top right and select Integrations. Click on your favourite provider and enter the details as defined within that provider's own web site. You can easily send a test email to check that it is all working. You can configure more than one provider if you like, and you can select which one will be used in the Manage Project > Customise > Mail screen.
When you use Group or 360 Recipient links, you have the option of making users register. If they enter their email address, they will be sent an email with their personal survey link. This link gives them access in case they don't complete the survey in one session. If "Send results on finish" is enabled in the Customise/Finish Options menu, survey responses will be emailed to the respondent when they submit their survey. You can choose one of your own customised mail templates, or create new ones in the Mail Templates section. Otherwise, if left empty, a generic email will be sent instead.
Various mail themes may also be selected.
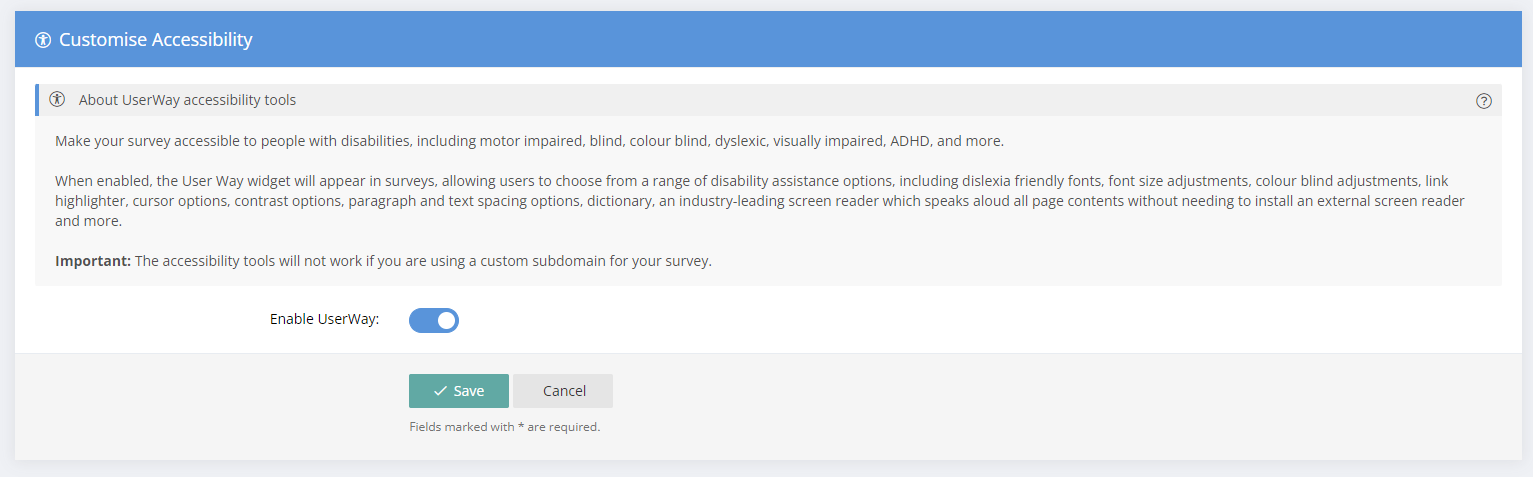
Accessibility - advanced support for survey respondents with a disability and to comply with WCAG 2.1 & 2.2 guidelines
To make sure that surveys have the widest possible reach we now offer advanced accessibility features in Spark Chart. By integrating the UserWay accessibility widget, survey participants who have any degree of disability will feel much more comfortable and your surveys will comply with WCAG 2.1 & 2.2 guidelines.
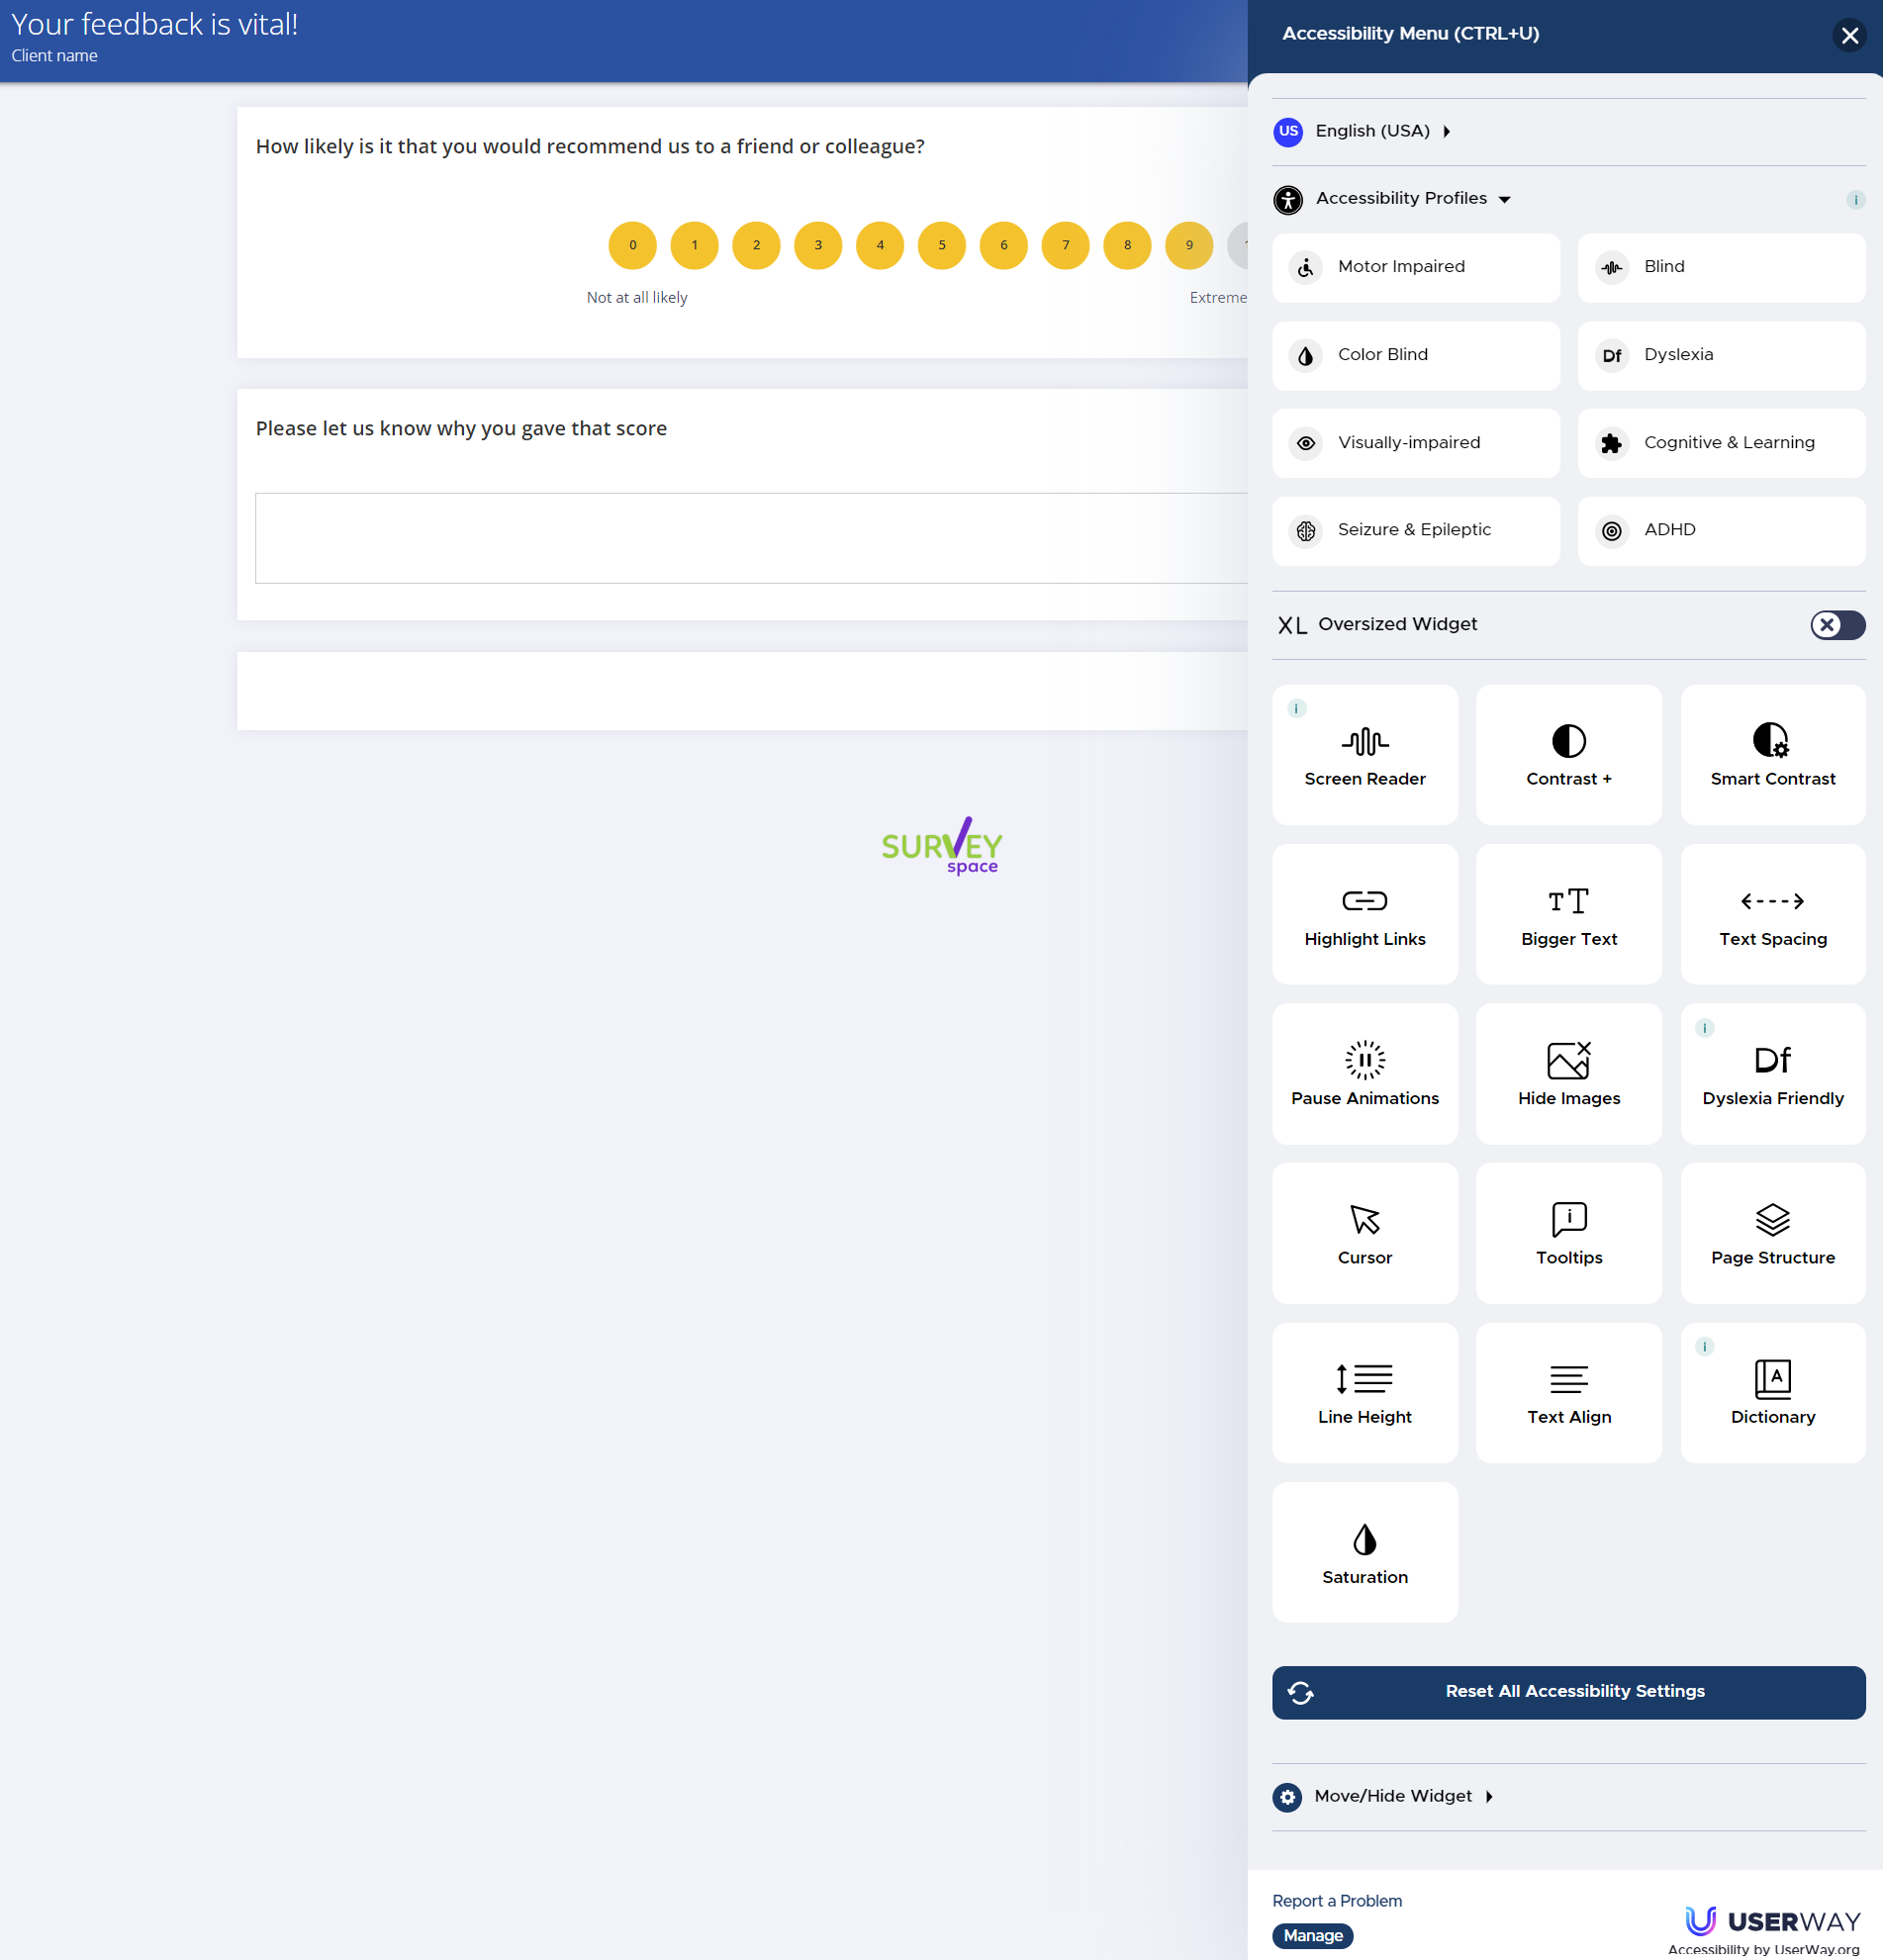
Preset accessibility profiles include motor impaired, blind, colour blind, dyslexia, visually impaired, cognitive & learning, seizure & epileptic and ADHD. Specific individual accessibility options include screen reader, contrast, smart contrast, highlight links, bigger text, text spacing, pause animations, dyslexia friendly, cursor size and appearance, page structure, line height, text alignment, dictionary, and saturation. Users have control over the location of the accessibility widget on their screen. Language selection is also available.
The Accessibility feature can be enabled on a project by project basis from the Manage Project > Customise > Accessibility screen. Please note: The advanced accessibility features are not currently available with custom subdomains.
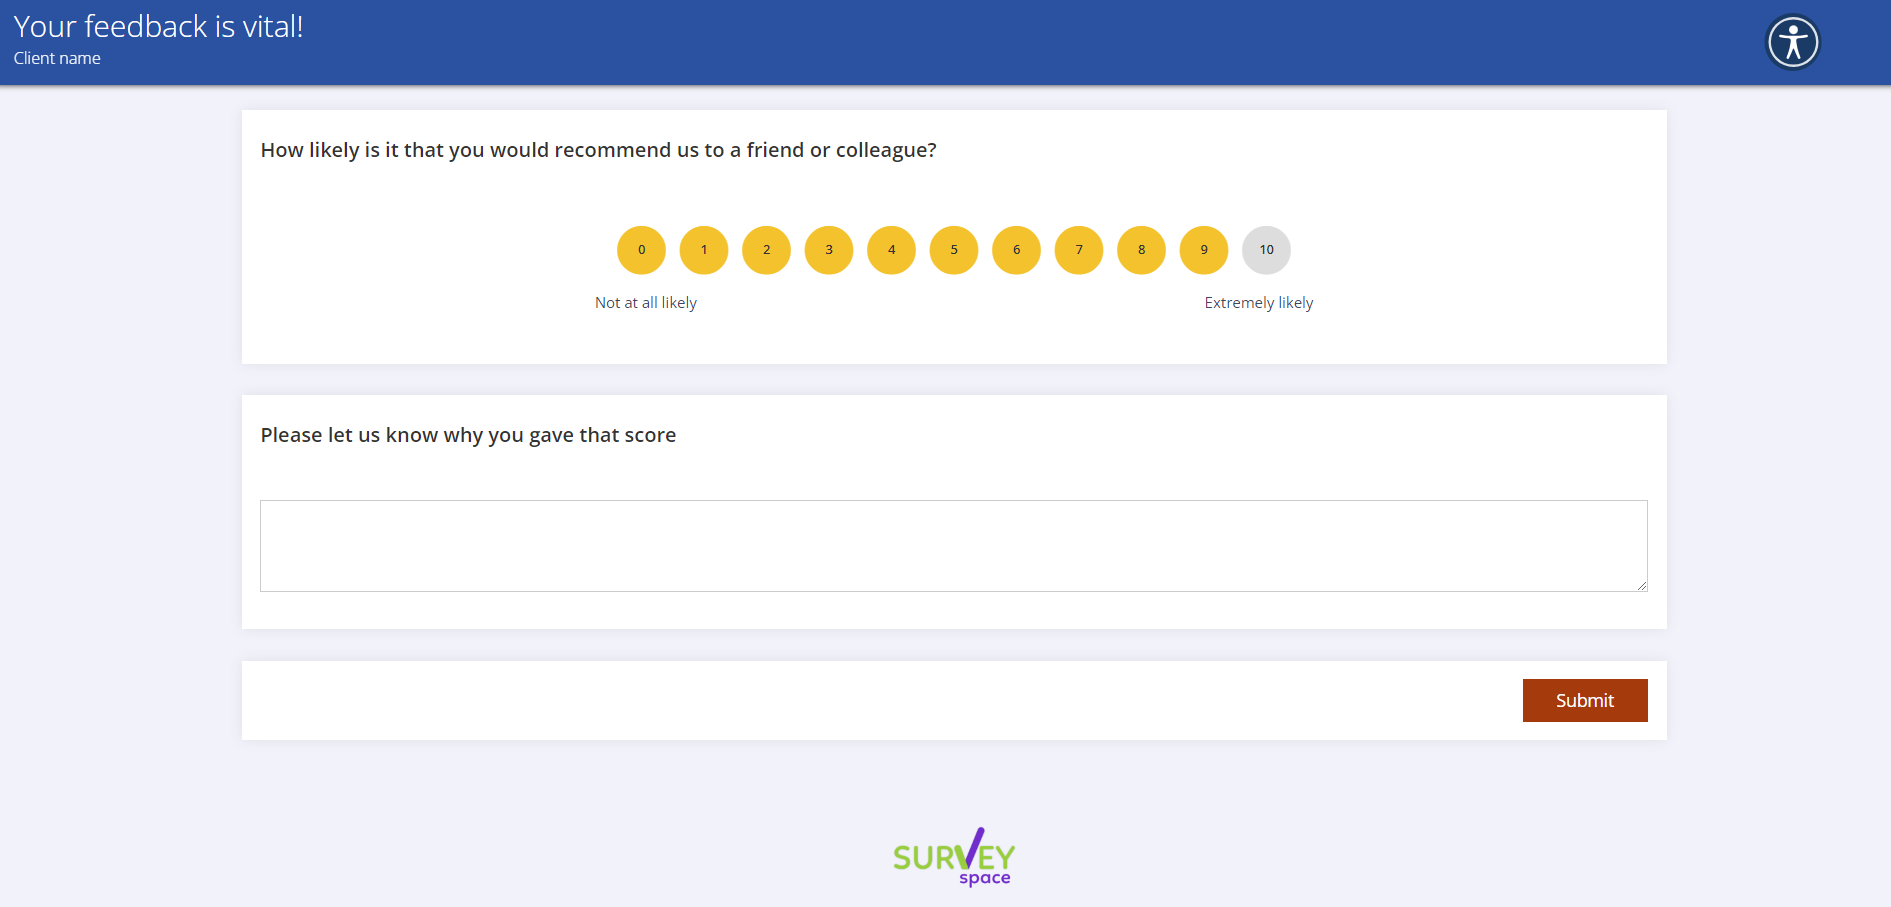
When enabled, an accessibility icon will display in surveys.
When expanded, the accessibility options will be displayed.
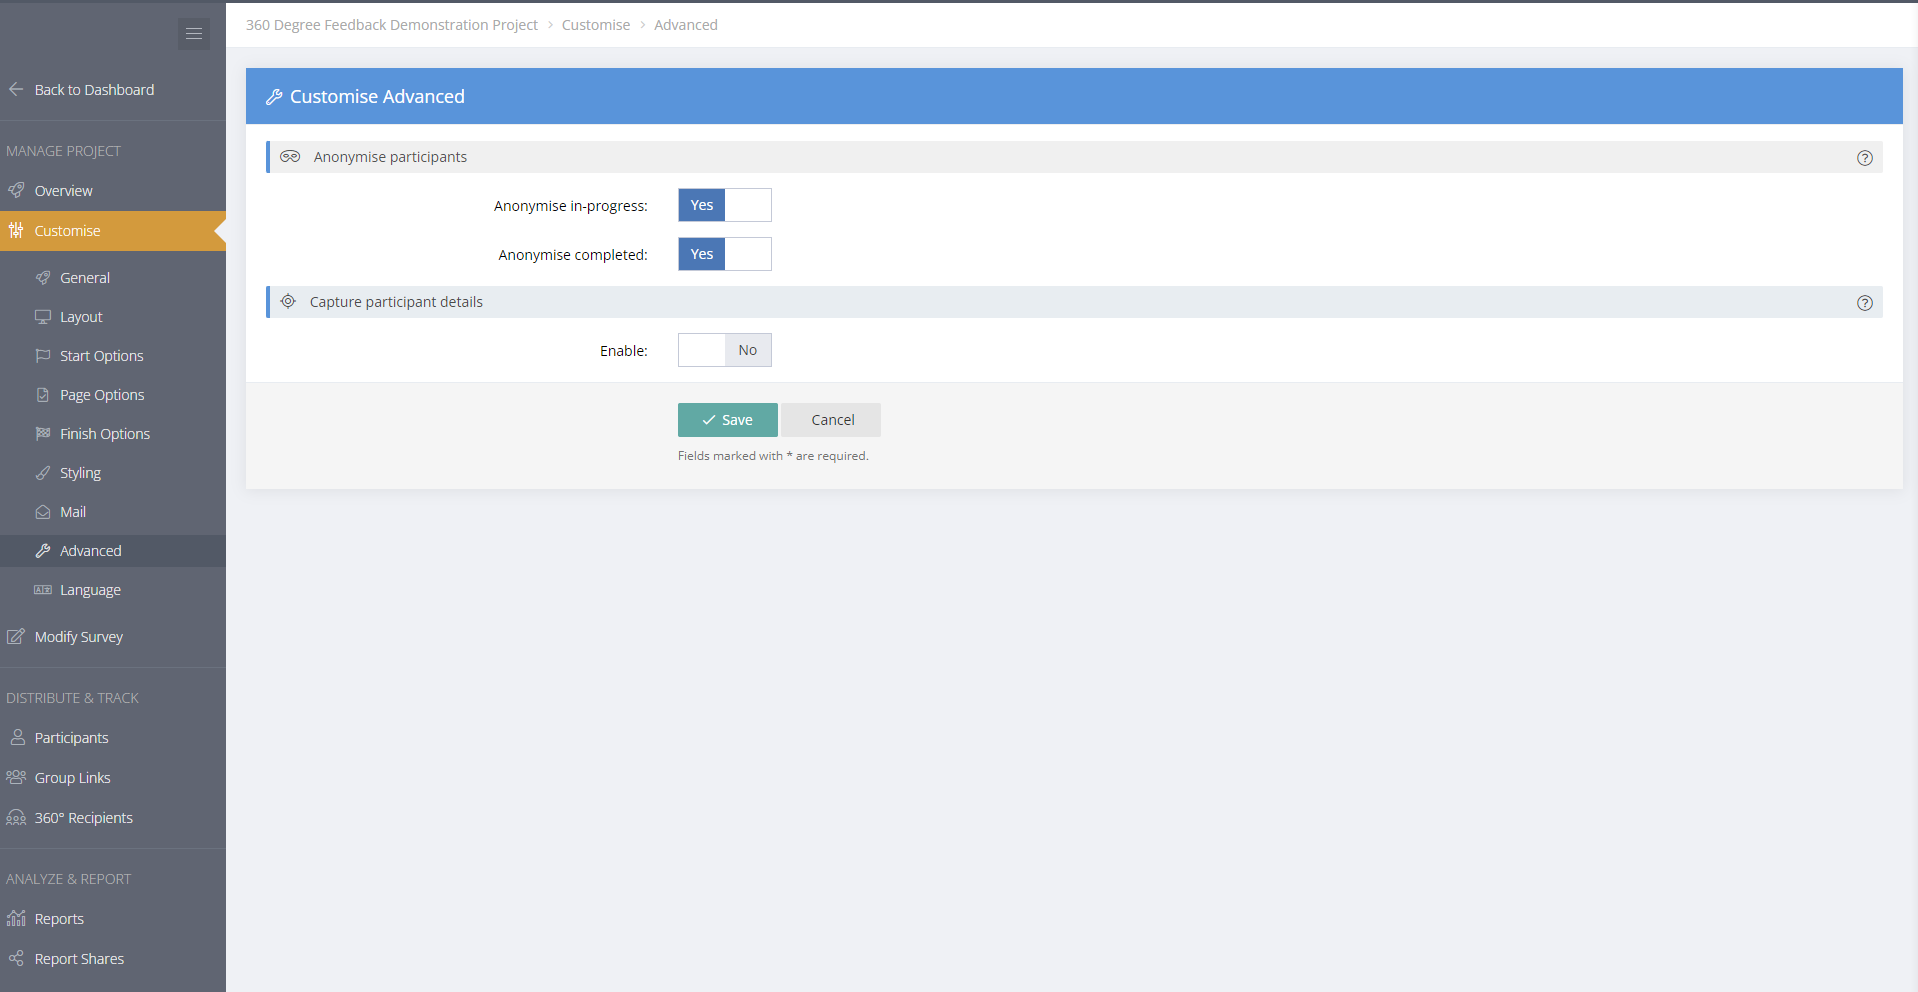
Advanced (including Anonymising Responses)
The Advanced tab includes advanced functions like anonymising survey responses. When turned on, participant details are anonymised when they have completed the survey.
Owners and Administrators have full control over the Advanced menu features, including the anonymise function.
Regular users can access the Advanced menu in a project but with restricted authority. Regular users can "anonymise" survey respondents but cannot change the settings back.
There are also options to capture participant details, including:.
- platform
- browser details
- IP address
- country
- city
- region
- post code
- latitude & longitude
- timezone
Users may employ VPN technology which can affect the geolocation information.
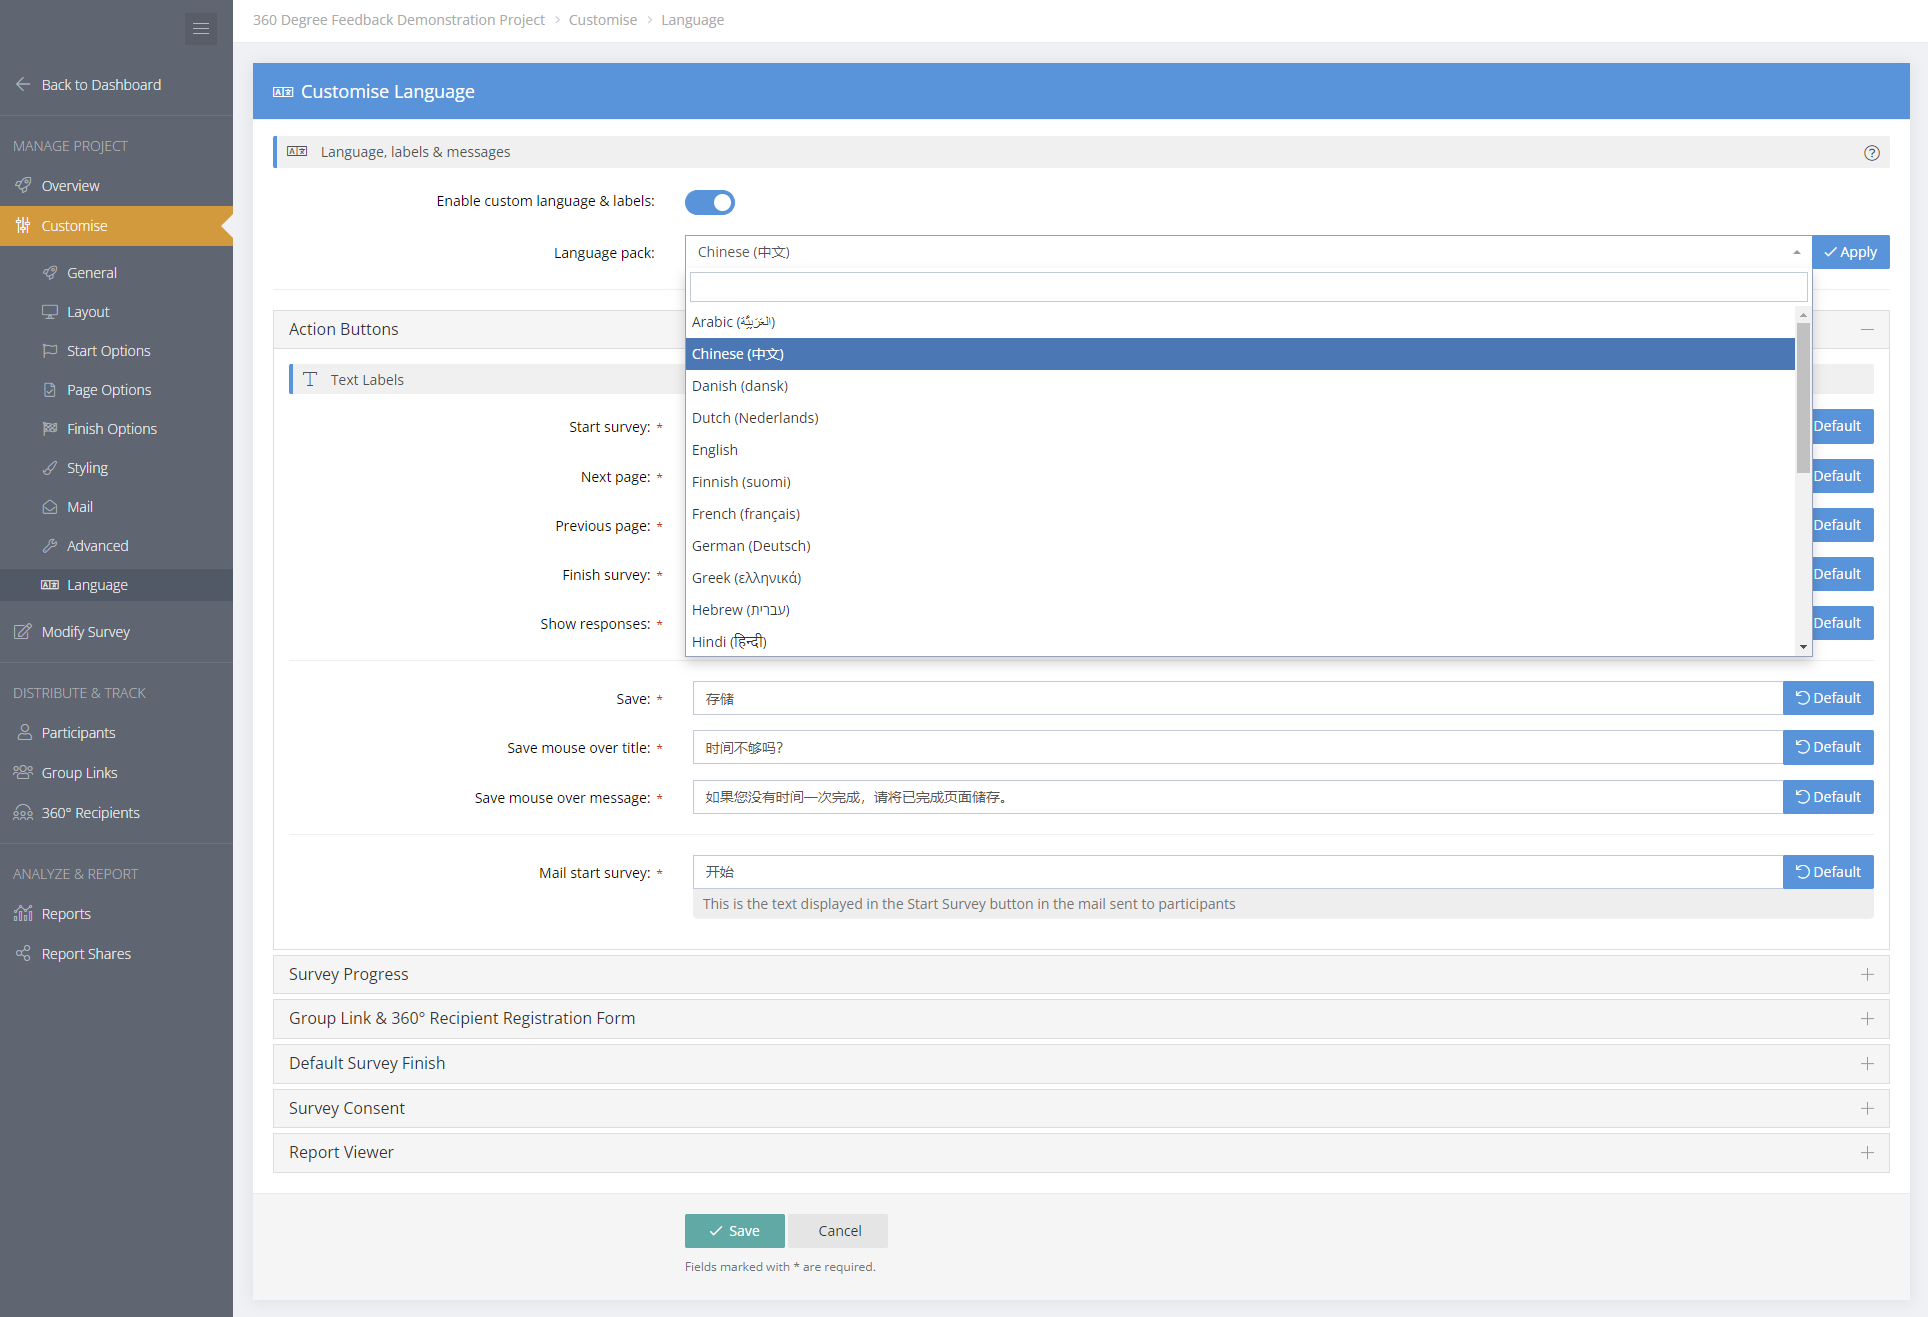
Language (including pre-installed language packages)
The user interface is in English, however, surveys can be created in any language. Also, the buttons and messages that appear to survey respondents when completing surveys can be customised.
You set custom text for the user interface from the Manage Project/Customise menu.
Accounts come with 20+ pre-installed language packages. If a particular language package is not available, you can still customise the labels manually. Then simply ask for the language package to be added.
Select the Enable button to modify the language, messages and labels visible to survey respondents. You can also select a language pack to apply to your survey labels and messages. Once a language pack is applied, you can still customise the text to suit your needs.
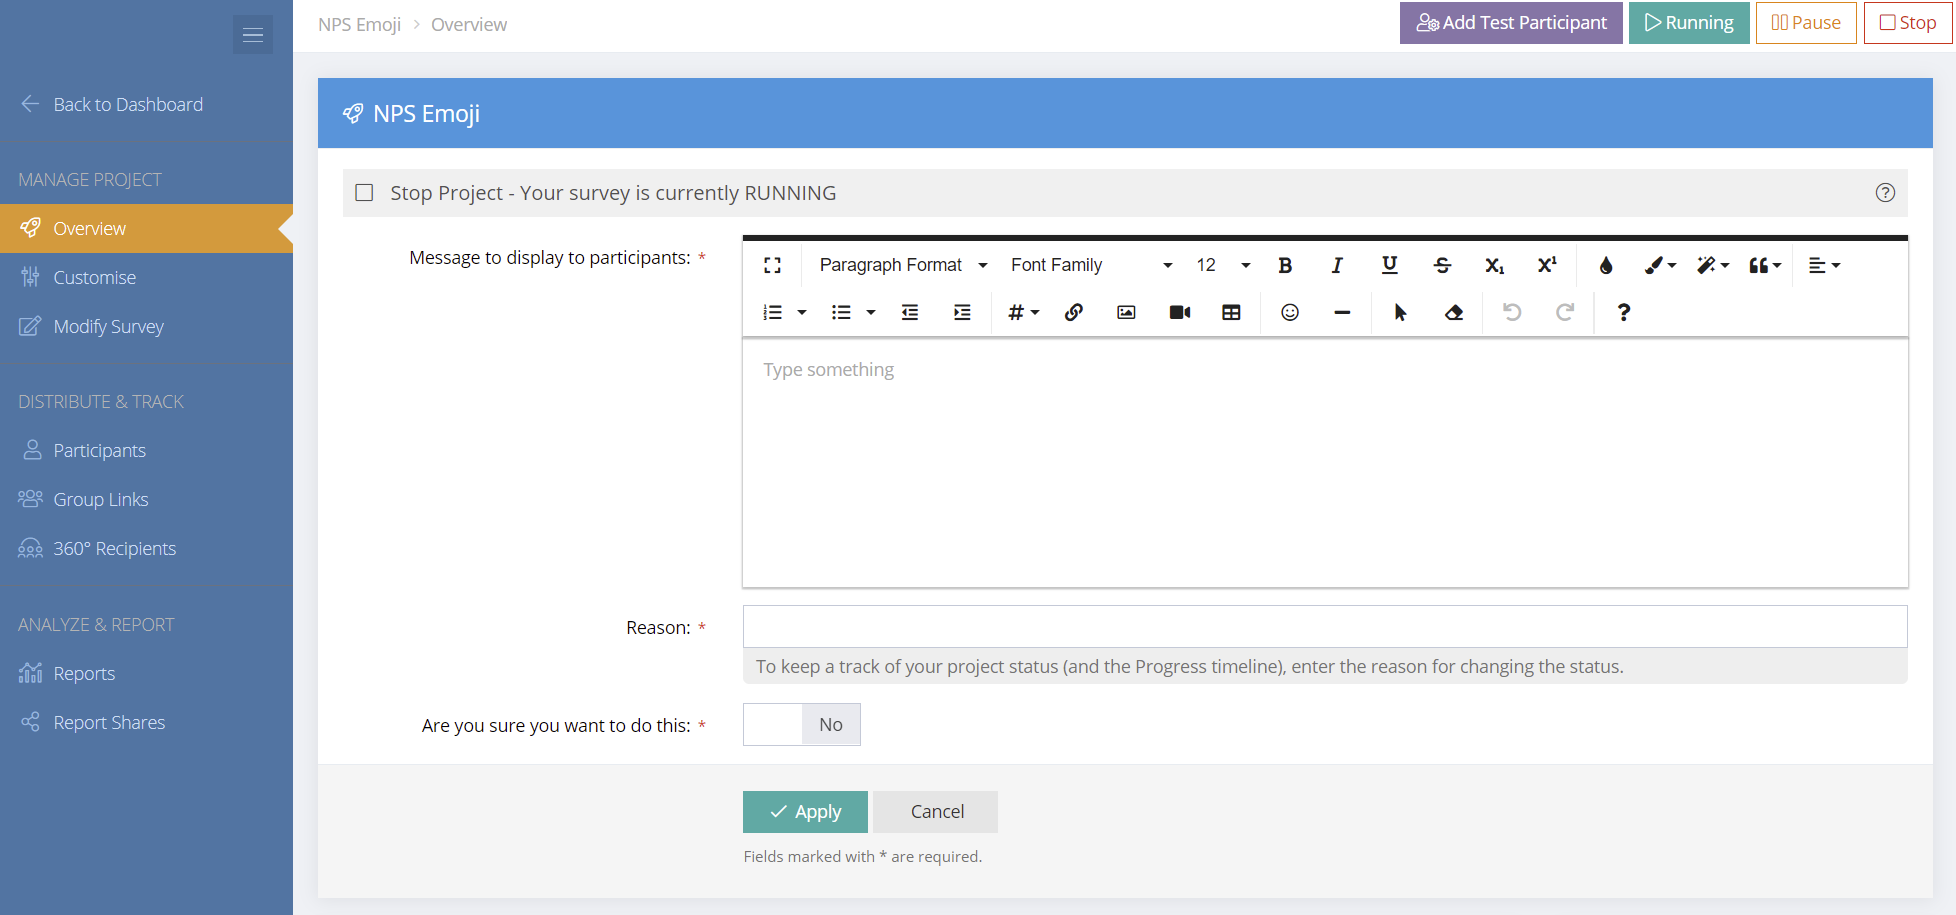
Pause or Stop a Project
The project status can be modified between Run, Paused, Stopped and Relaunch. When pausing or stopping a project a message that will be displayed to survey participants must be added along with a reason.
Copy a Survey Project
A survey project can be copied easily. Click the copy button alongside the project. The project settings will be copied but the participants, all data/responses and reports will not be copied. Launch the copied project when ready.
Archive, Restore or Delete a Project
Please refer to this help article https://help.sparkchart.com/article/89-archive-recycle-and-delete for a full explanation of the archive, restore and delete options.
Projects, Survey Templates and Tools (Mail Templates, Rating Scales, Answer Lists, Themes) can be archived by selecting the Archive icon along side the project. Archived items can also be restored or deleted permanently. Archived items will show in a Tag called "Archived" in the left hand menu.
Take care when deleting projects as all details and responses will be deleted with the project.
v