Tags and Pins make it easy to organize items or to navigate quickly between items.
Navigating with Pins
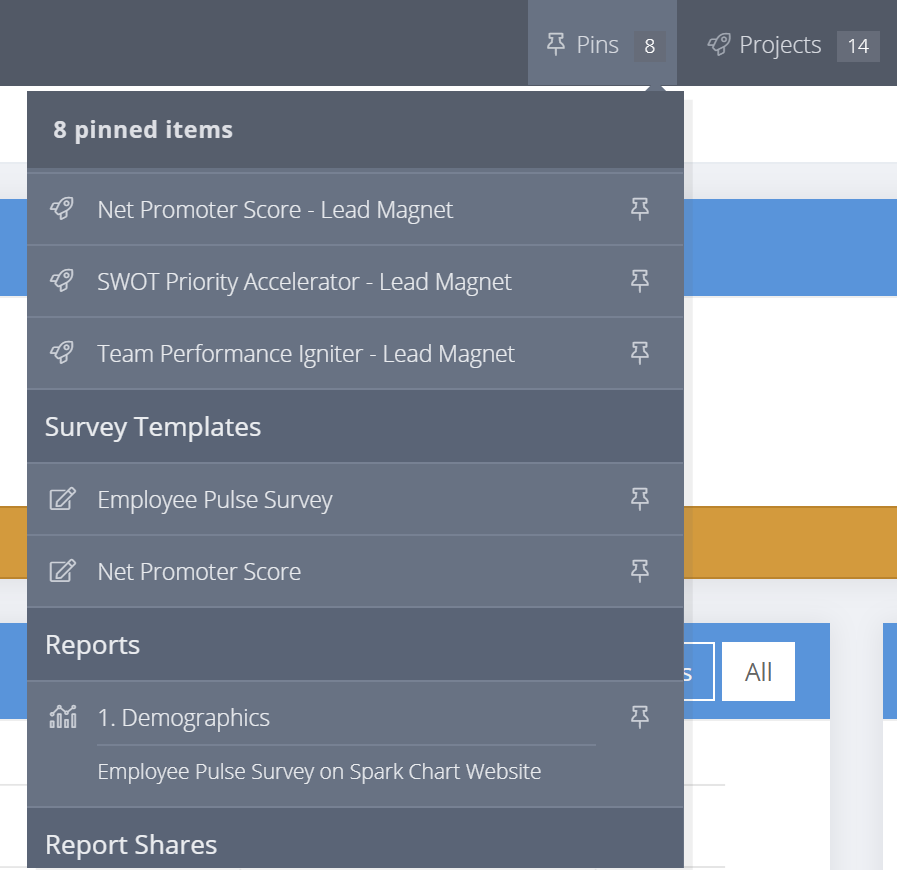
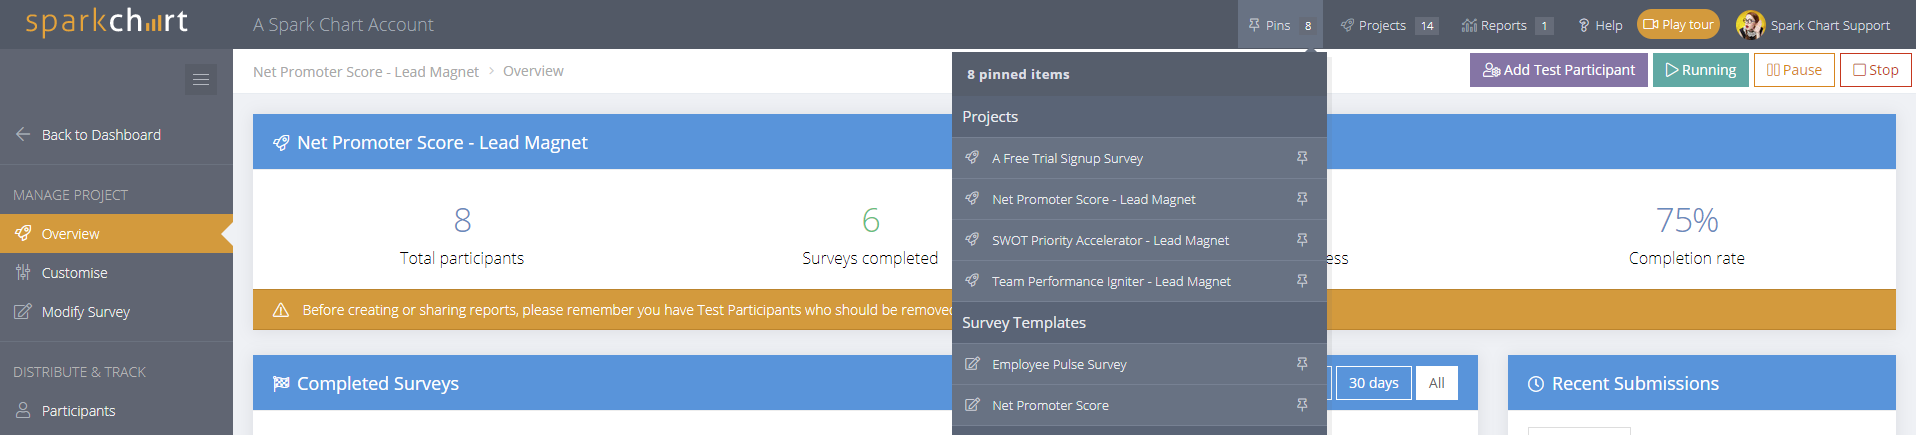
Pins provide a shortcut way to move between regularly used items from any menu. Projects, survey templates, reports and report shares can be pinned to make them quickly accessible from any screen. All pinned items also show under the Pins menu at the top right of the screen. Pinned projects also show on the Dashboard. There is an option to pin items when creating or editing items. Items can be unpinned from the Pins menu. The "Pins" icon is also visible alongside the item name and the pin turns blue when an item is pinned.
Organizing with Tags
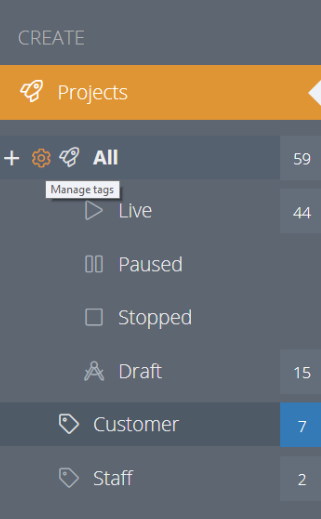
Tags can be assigned in most menu areas throughout the account to assist with organising and managing content. Tags are a way to group items together (like Projects, Contacts, Rating Scales, Themes, Surveys & Templates) for easy access. Items may be assigned multiple tags. When a Tag is created, the tag appears beneath the associated menu. For example, if you create a tag called "My Projects" under the projects menu, then all projects with that tag will appear there. Tagged items will continue to show under "All".
Adding and editing Tags
Icons to add, delete and manage tags are now shown at the left of menus and sub menus when hovering with the mouse.
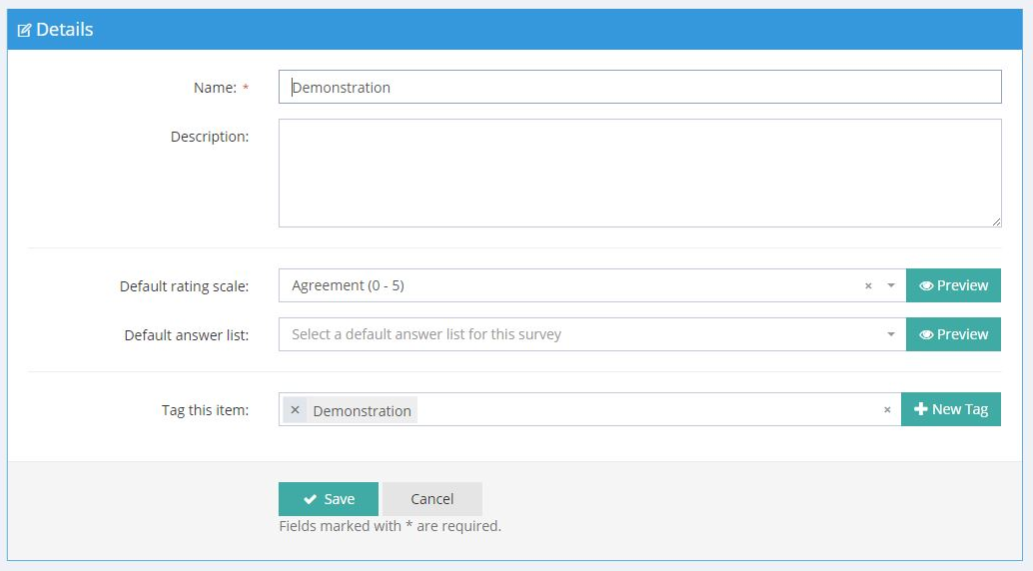
Tags can be added when creating or editing individual items
Tags can be assigned to items when adding or editing them. In the "Tag this item" field, select from existing tags. Or, select the + New Tag button to create and assign a new tag.
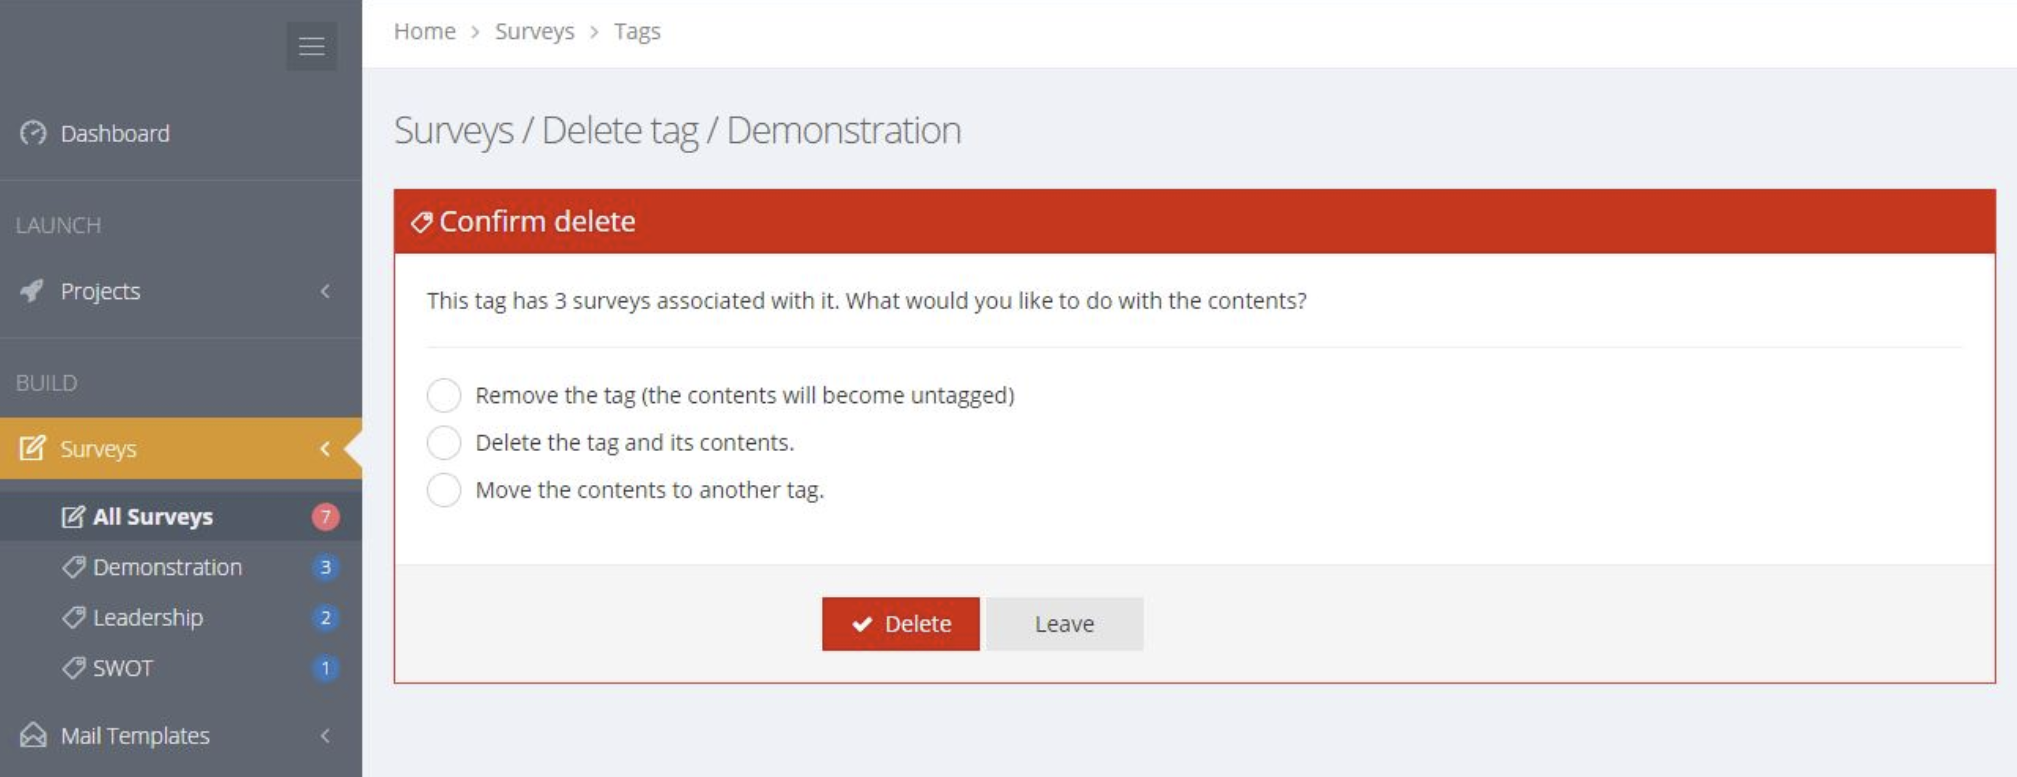
Edit or delete a Tag
Editing a tag will not affect the contents of the tag, only the description. An empty tag can safely be deleted. Deleting a Tag with contents will bring up a message with options to deal with the content of the tag.