

Contacts is where regularly used contacts can be stored ready to be quickly added to projects. Contacts are useful for people you survey on a regular basis (like staff, pilot participants or regular customers). People can also be added directly into projects without being added to Contacts. For people you survey only once or very occasionally, you are probably best not to add them to Contacts and to simply add them to the project.
When you add a contact to a project, a copy of the contact is made and they become a "Participant". Editing or deleting the contact in the Contacts Workspace does not change the participant details in the project.
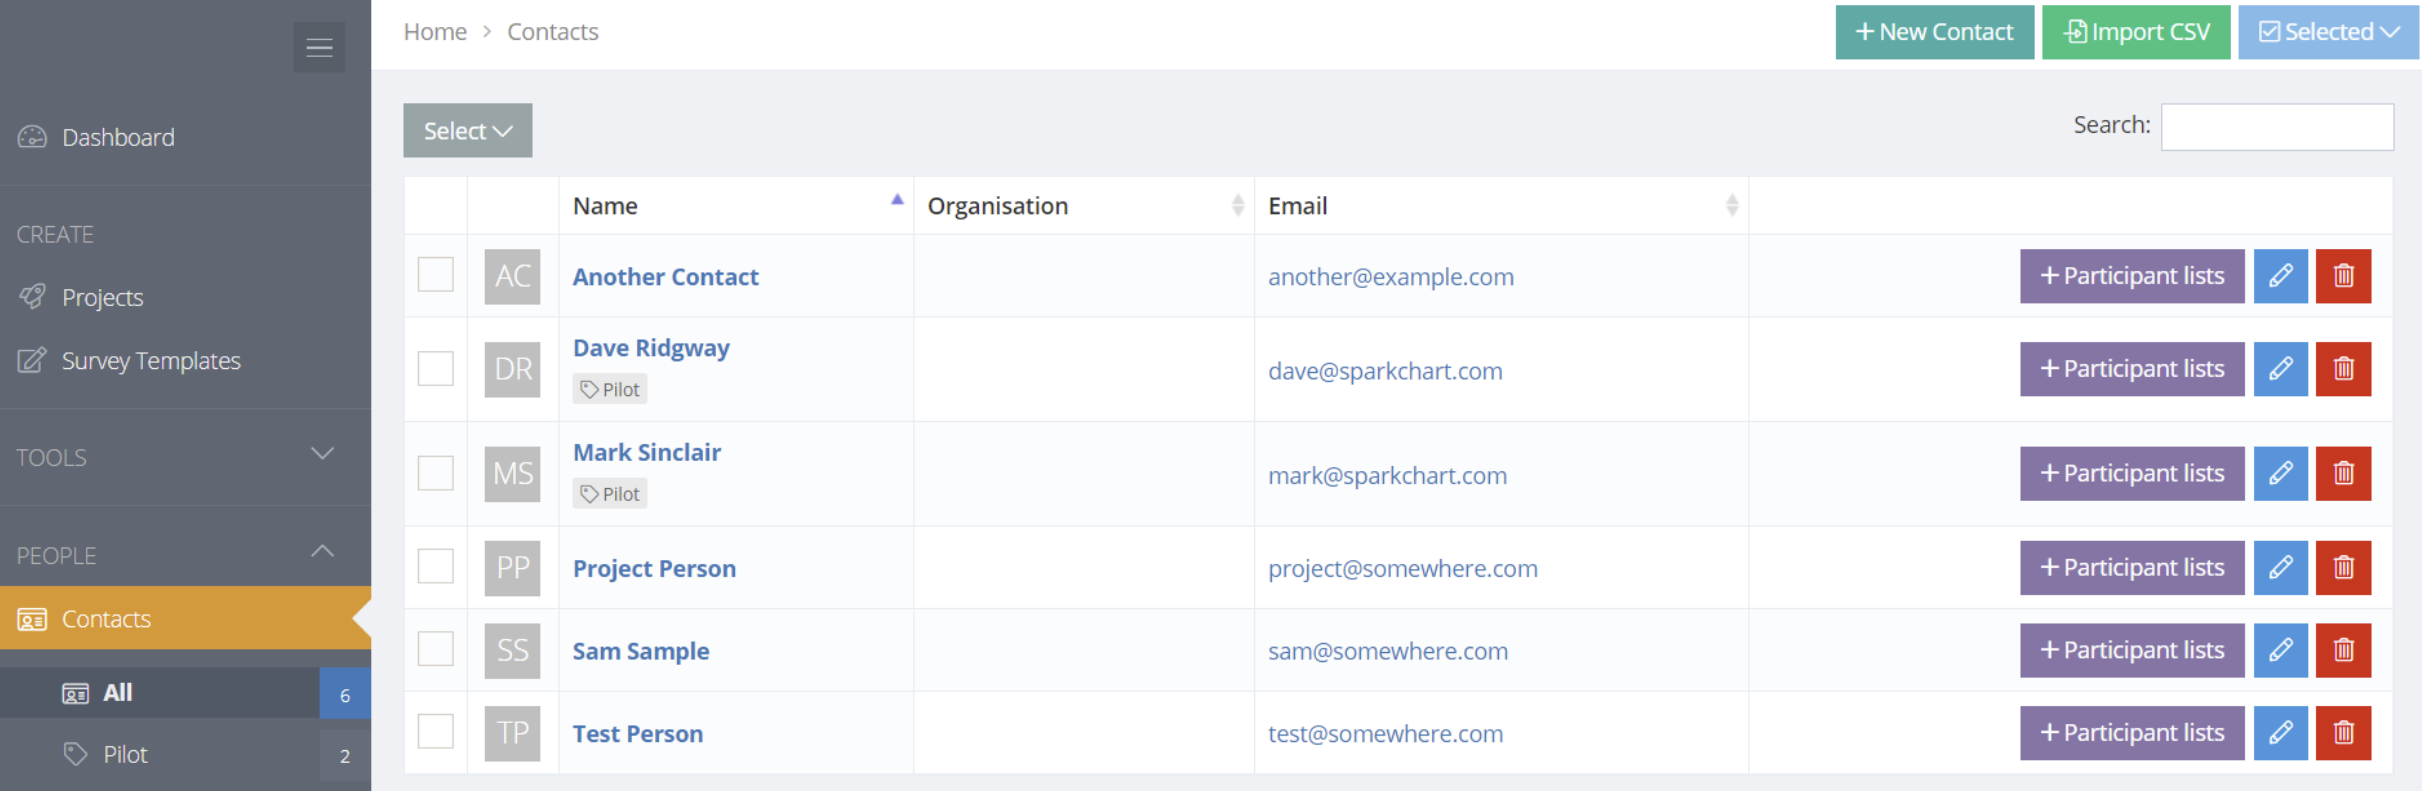
The Contacts Menu
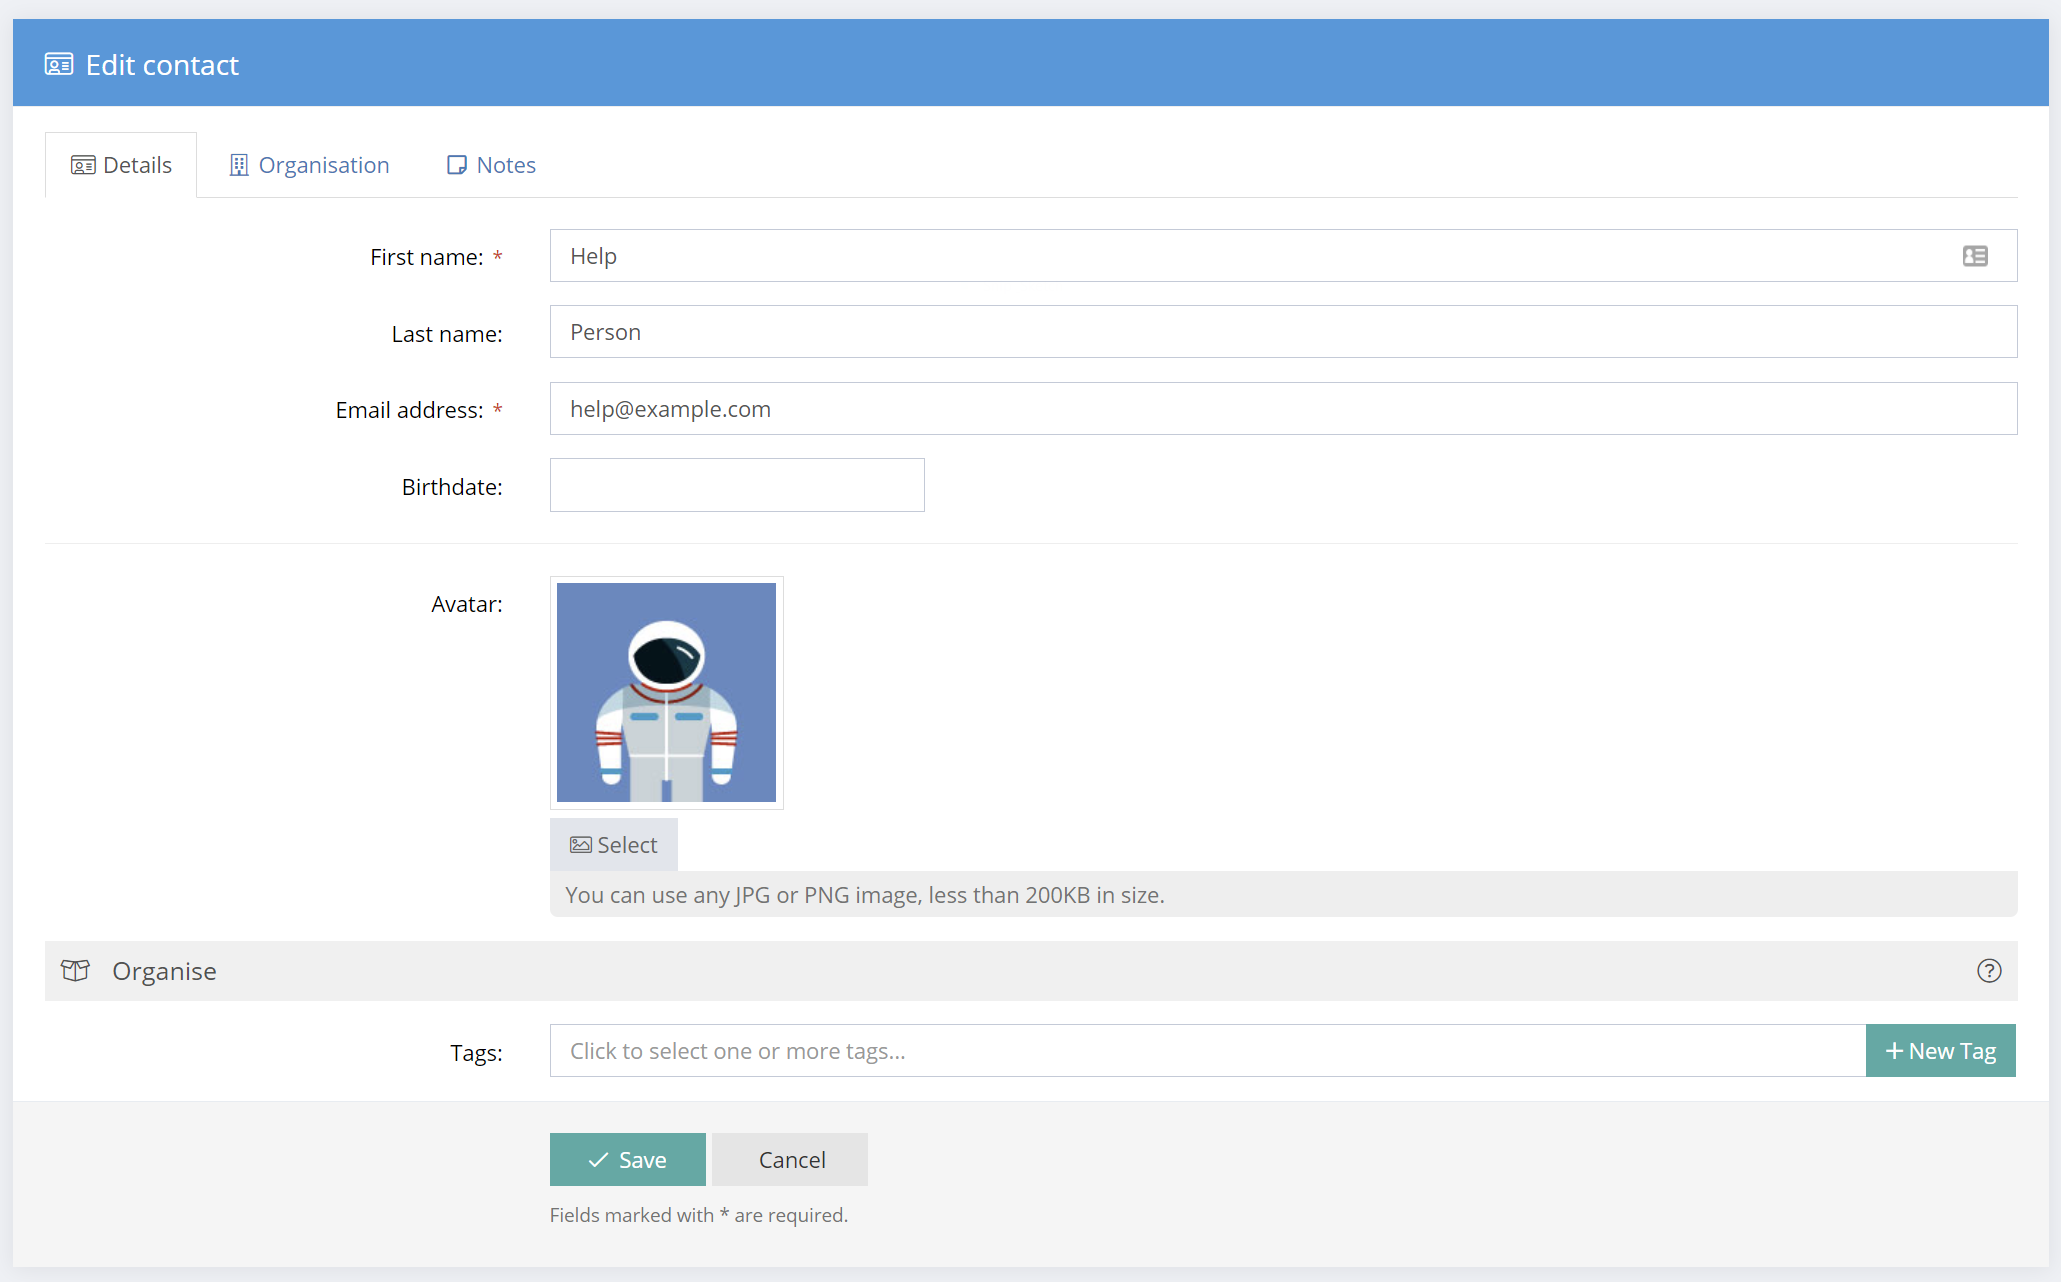
Adding & Editing Contacts
To add an individual contact, select + New Contact. When adding a contact, information is grouped by tabs - Personal, Organisation and Notes. Alternatively, multiple people can be imported using the Import CSV button.
To edit a contact, click on the Edit button along side the contact.
To delete a contact, select the delete button. Or, select multiple contacts and then go to the "Selected" button.
If you have a Large Number of Contacts
Depending upon the number of contacts selected, the contact records may be shown over more than one page. You may changed the Show options to see more contacts. The default number to "Show" can be changed in Profile/Settings.
If you have a very large number of records, and select the “Show all” option, it may take a longer time to display. Speed may depend on factors such as browser type and your internet connection. If you experience problems, choose a lower number and then take action in batches.
Import Contacts using a CSV File
Multiple contacts can be imported. Select the Import CSV button at the top of the page.
CSV stands for Comma Separated Value. A CSV is a simple file format used to store tabular data. CSV files are commonly used and many programs have an option to export data into a CSV format.
In the CSV file, place headings across the first row and relevant data in the column below each heading.
- The required data for importing contacts or participants is First Name or Last Name or Email Address. Note, if you don’t enter an email address, you will need to manually provide the participant with the login link.
- The required data for importing satellites is Name. An email address is optional.
- Optionally, Tags and other information such as Organisation, Job Title may also be added for individual records.
So, for example, create columns in the CSV for First Name, Last Name, Email Address and Tags. The CSV file may contain additional columns of data generated when it as created. There is no need to remove that data or to move the columns. During the import process you can choose which column to use for First Name, Last Name and Email Address, etc.
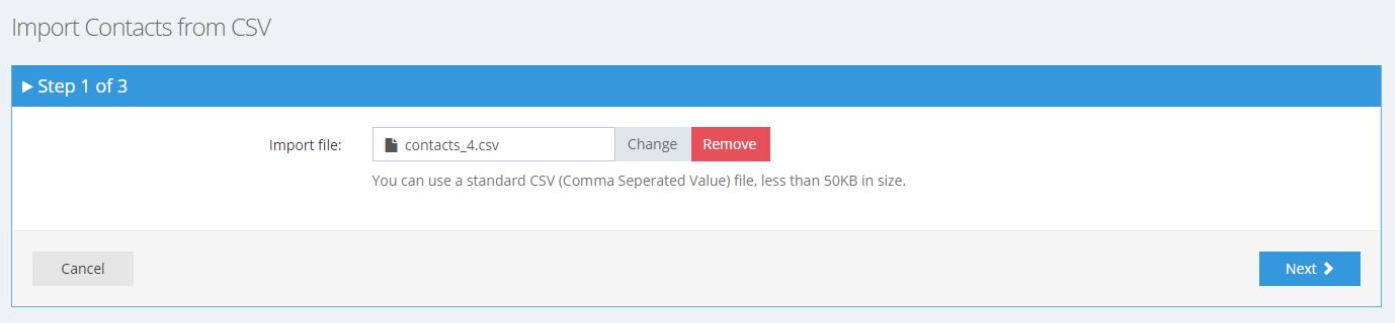
Step 1. Select the CSV file
Select the CSV file and click Next.
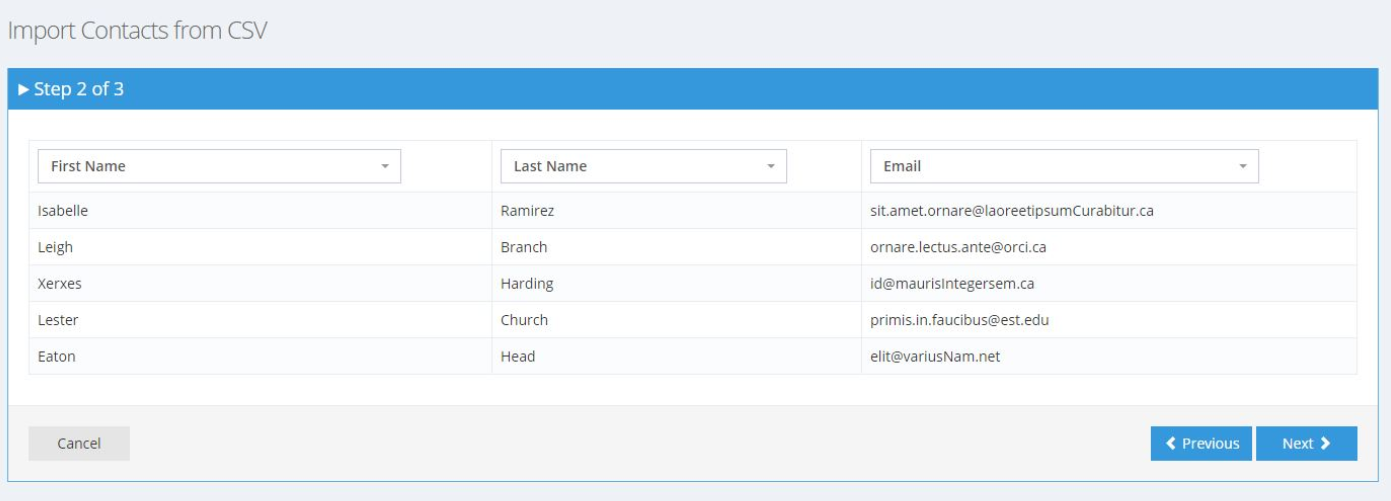
Step 2. Assign fields
At the top of each column, select the relevant column type (e.g. First Name, Last Name, Email Address, Tag, etc.). Then click "Next".
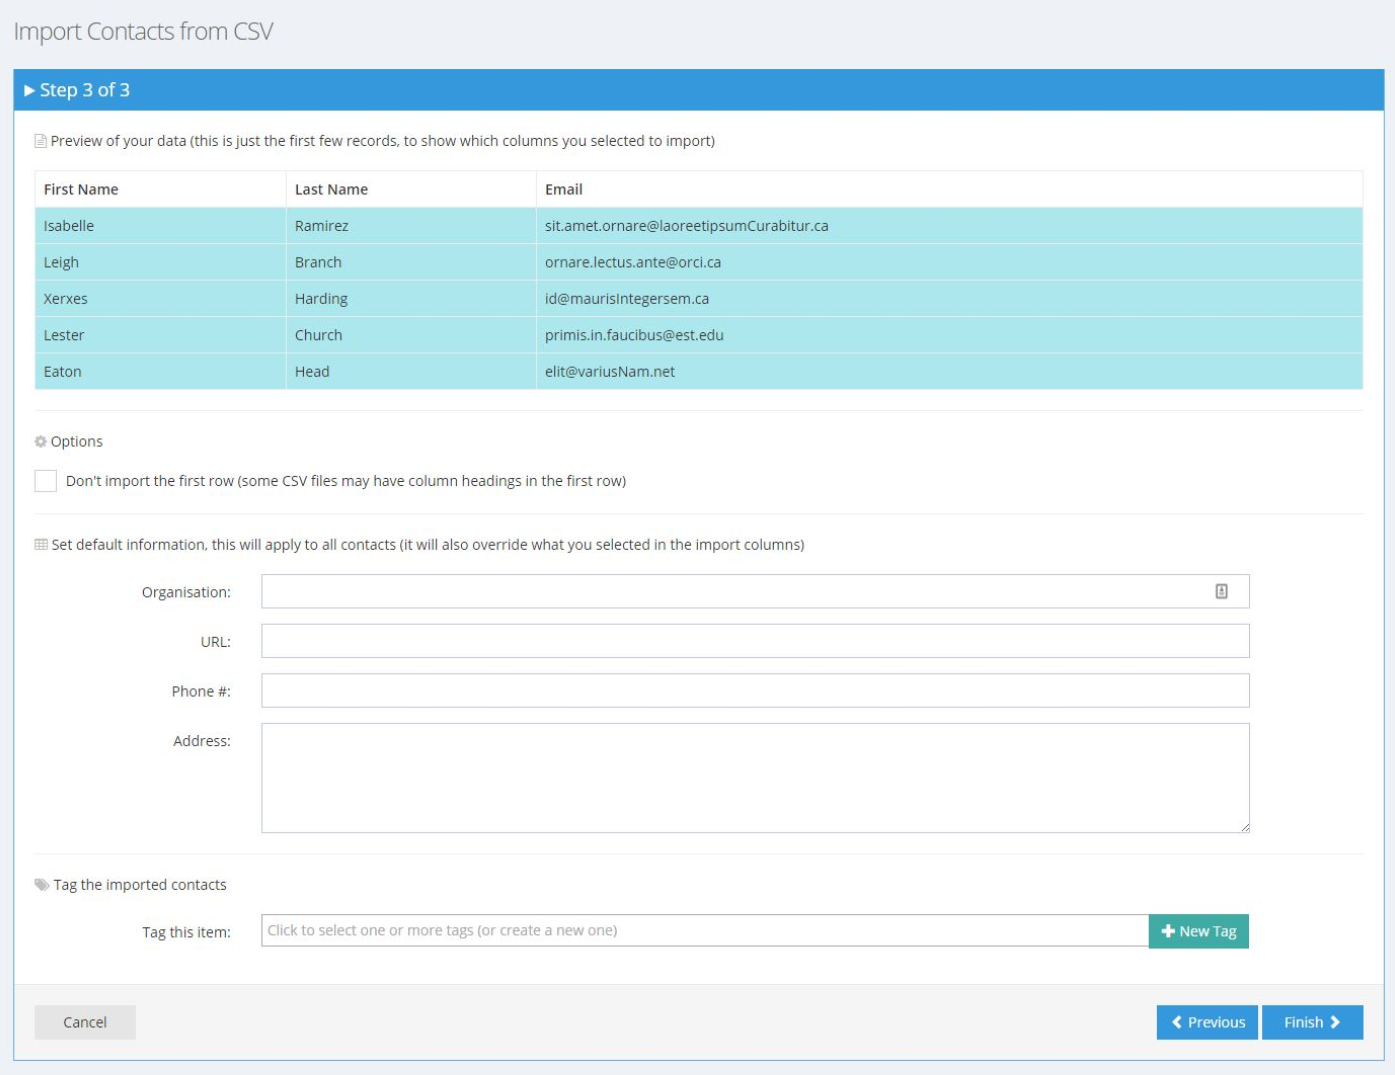
Step 3. Check and enter additional information
If the CSV file contains a heading row then select the "Don't import the first row" Check Box. Complete the information in the additional fields and select a tag or tags for the contacts.
Step 4. Finish the Import
Click Finish and the list will be imported.
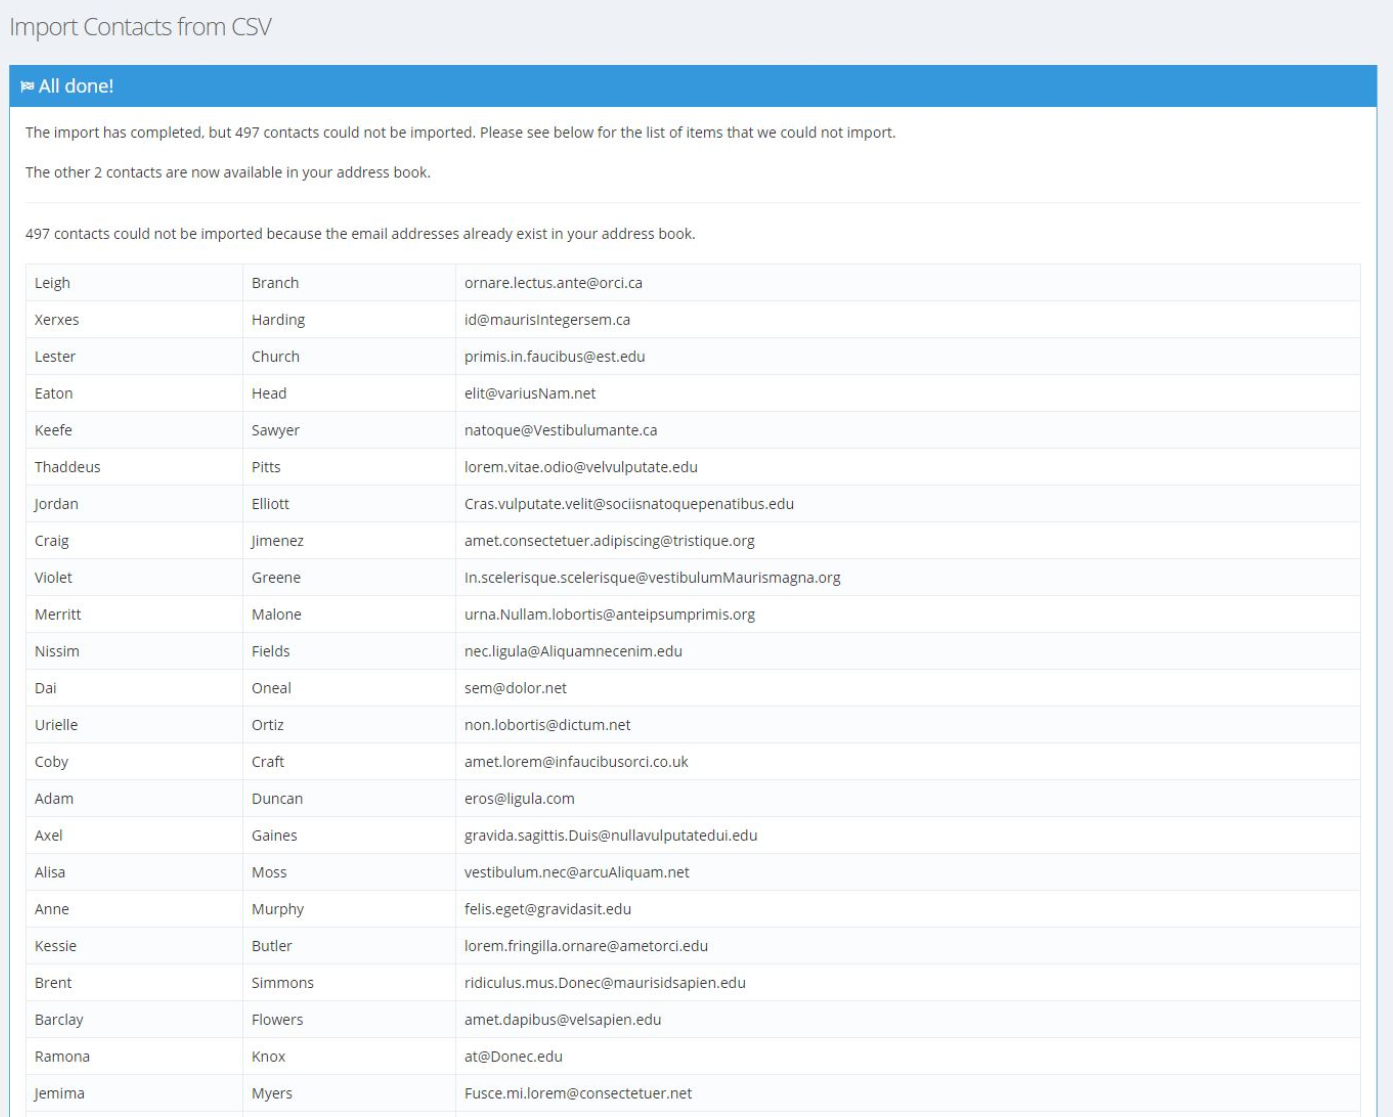
When importing into Contacts duplicate records will be detected and will not be imported.
When importing participants or satellites directly into Projects duplicate records are allowed and will be created in the project.
A message will appear to confirm the results of the import.
What happens after Import
After importing contacts they will appear under "All Contacts" as well as under the tags assigned during the import process.